


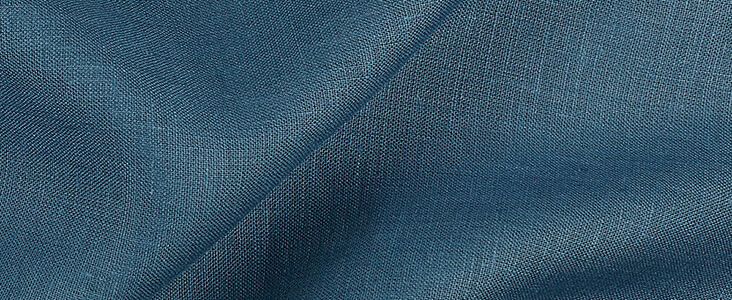
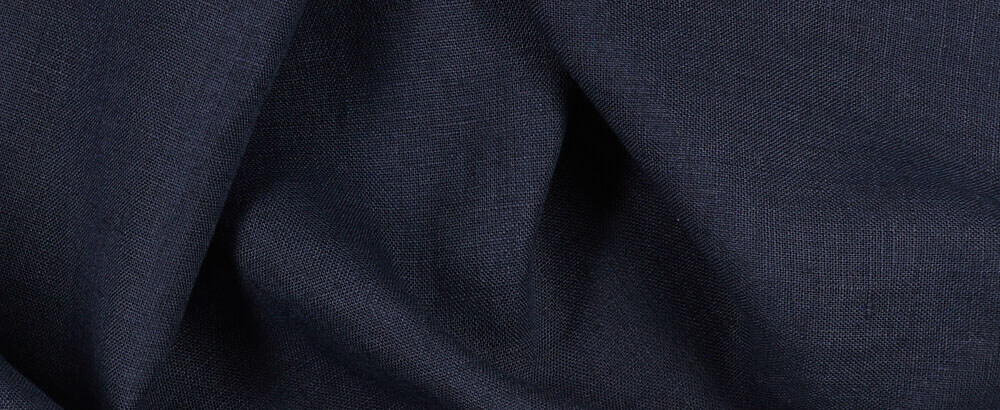
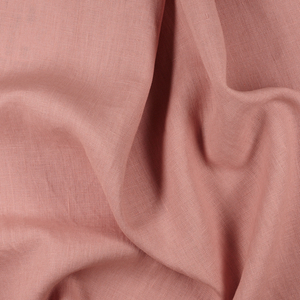
The cold, blue silence of BLUE BONNET Linen hovers like a thick mist through Edvard Munch’s paintings, investing his artworks with a mysterious, pervading ennui. Munch’s Expressionist and Symbolist drawings, paintings and prints captured the changing spirit of the early 20th century, when dramatic intellectual and industrial changes tore apart traditional Victorian values and replaced…
FS Colour Series: Blue Bonnet inspired by Edvard Munch’s Spirit of Change
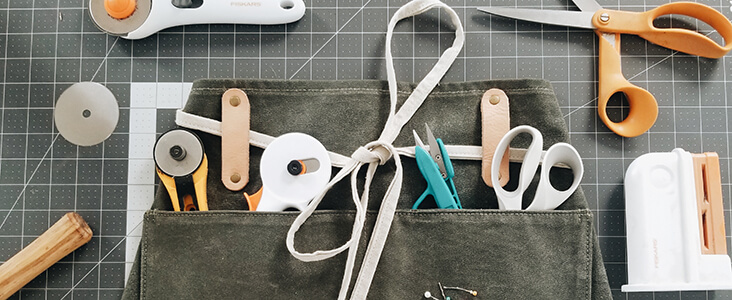
In my ten years of sewing, the most common question I have been asked by fellow seamstresses is, “Which tools do you use every day?” So today, I’m tackling that question with some reflection on those ten years and a little peek into my workspace. As a beginner, I remember feeling overwhelmed by the amount…

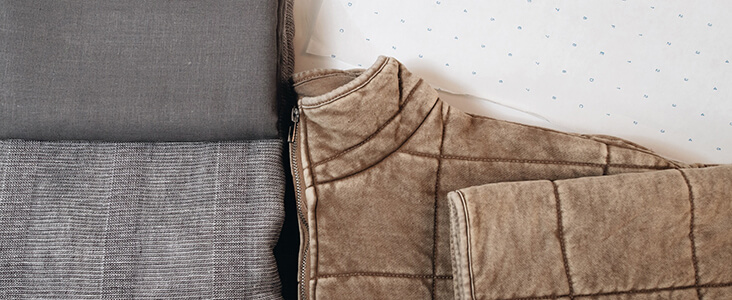
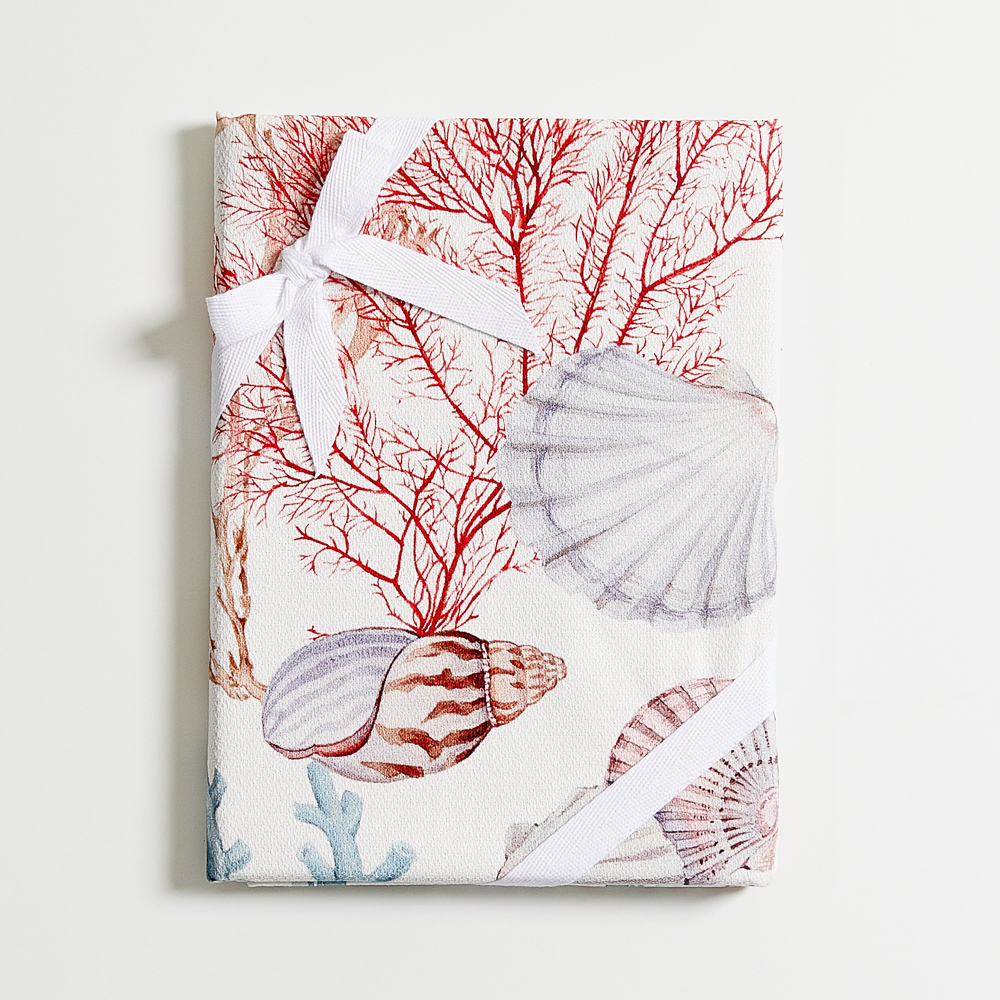
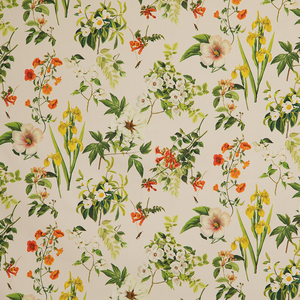
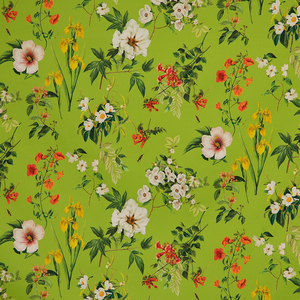
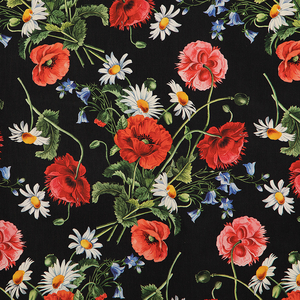
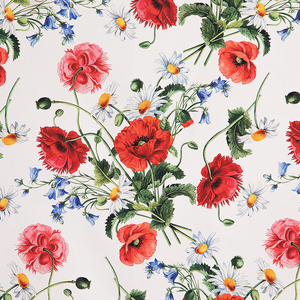
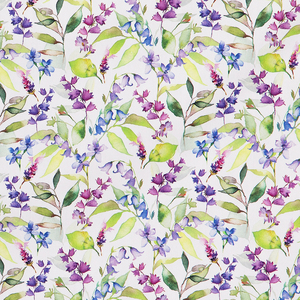
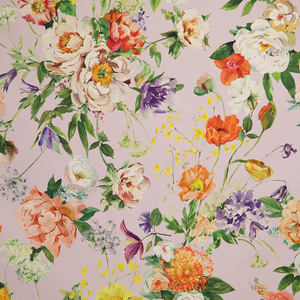
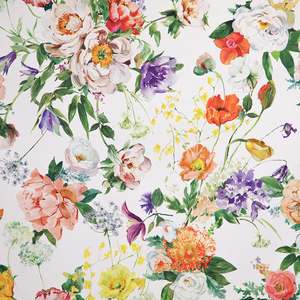
There is no question that I love linen. Living in a climate where it is warm and humid almost three seasons. Finding linen in all the colors that you want can be challenging. I tend to be exacting when it comes to the colors and patterns of my fabric. When Fabrics Store reached out about…

Today you can allow yourself to play with the style of slip dresses. What should I match the dress with? A slip dress in cold weather goes well with knitted clothes (sweater, turtleneck), and coats and jackets are worn over it. In warm seasons, a shirt and a T-shirt are combined with such a model….
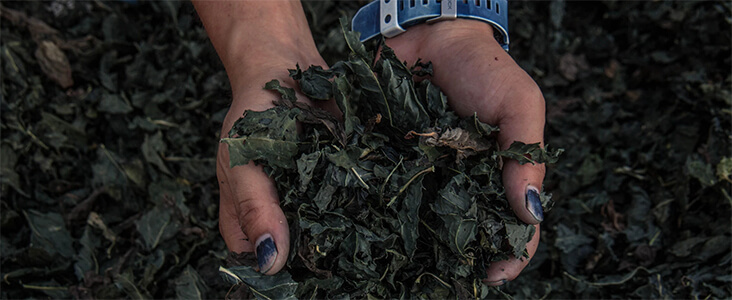
“No colour has been prized so highly or for so long, or been at the centre of such turbulent human encounters.” Catherine E. McKinley Indigo’s deep, intense blue has a long and complex history which spans millennia. Originally derived from the tiny leaves of the Indigofera plant species in tropical regions, the rare colour became…
You know that one well-worn, probably damaged-beyond-repair item in your closet you bought off the rack ages ago that you still hold on to because you just love the way it looks and fits? Or maybe it’s a garment you think would look amazing in another fabric that the original wasn’t offered in? Well, have…

I love a good button down. I know this isn’t a revolutionary statement by any means, but there’s a reason it’s become a wardrobe staple in so many people’s closets. They have the innate ability to be a closet chameleon, transitioning from office wear to casual chic, and they are a piece I return to…
The traditional trouser includes a waistband, belt loops and a fly front but over time I think we’ve accepted many variations on this beloved staple garment. Don’t misunderstand, I do love cozy elastic waist linen pants as well. I’ve even designed patterns for such a pant and have several but nothing can totally replace the…
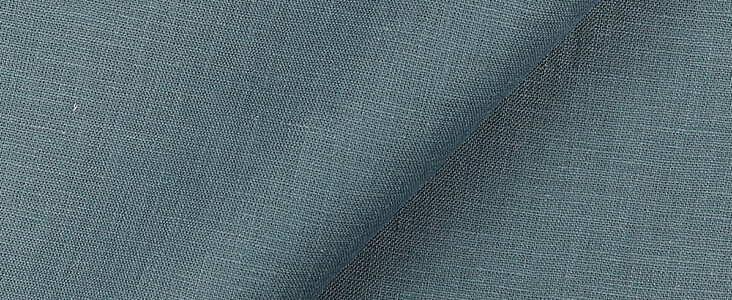
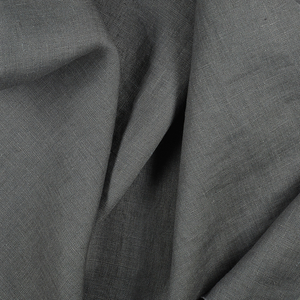
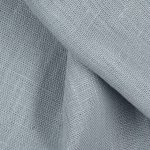
The silvery grey-blue of LAGOON linen became leaden, steely skies in the hands of painter Joan Eardley, capturing the furious energy of storm-laden seascapes in thick slabs, swipes and streaks of moody colour. A master in capturing the wild, elemental and unspoilt beauty of the Scottish coastline, Eardley heaved huge canvases into the landscape during…
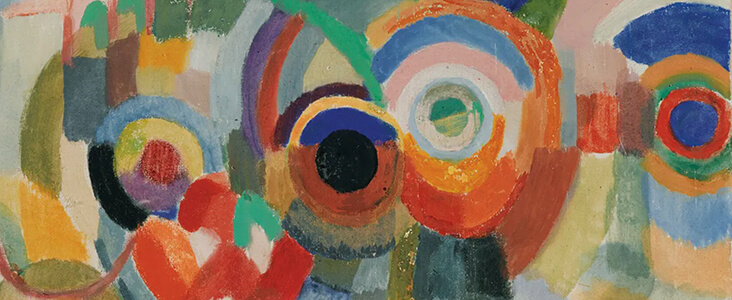
The name Sonia Delaunay is synonymous with kaleidoscopic colours and prismatic designs that seem to splinter, shift and dance before our eyes. In a 60 year long career, her daring, vivid Simultaneisme encompassed paintings, textiles, fashion design, costume and interiors, making her one of the greatest pioneers of the Modernist era. While history has favoured…
Deep shades of indigo like Japanese Blue were a potent tool in the arsenal of much-loved 19th century Japanese artist Katsushika Hokusai, a means of investing dark, brooding shadows into his atmospheric woodblock prints. From the cavernous depths of gushing waterfalls to the timeless silhouette of Mount Fuji, he layered this entrancing shade of darkness…

A few years ago, I started to play with quilting clothes. The first few pieces turned out less than ideal. I didn’t know the paths to avoid the foibles of quilting. But after a few playful experiments and failed garments, things started to fall into place. I’ve put together this tutorial to share the things…
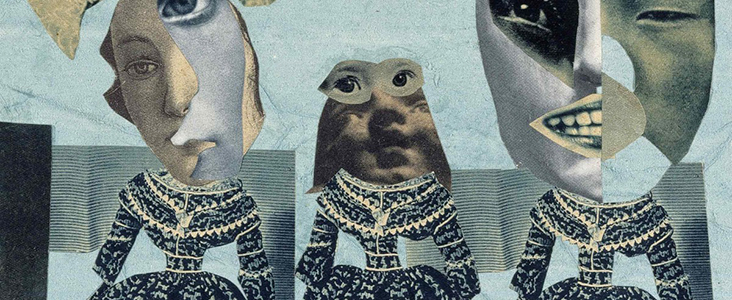
In Hannah Hoch’s collage wonderland anything is possible; men’s faces sprout wings and chase primeval monsters, broken artefacts assemble into beasts and women’s bodies are cut apart and left to float in space. She wrote: “…there are no limits to the materials available for pictorial collages – above all they can be found in photography,…
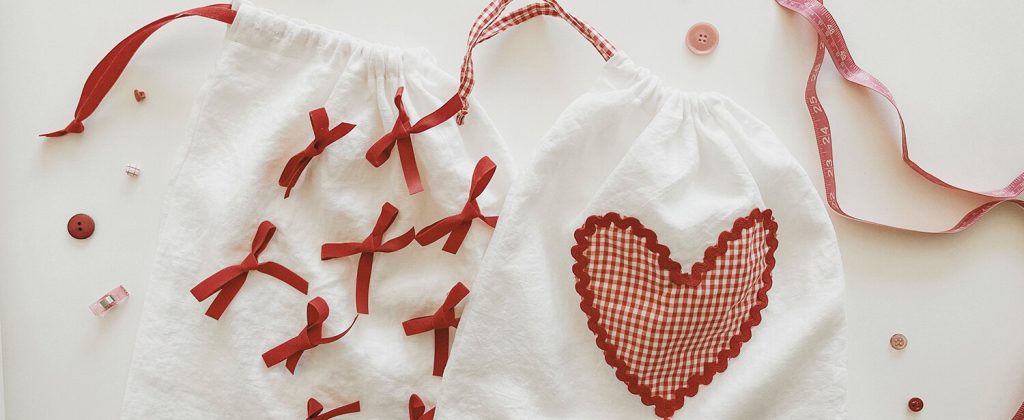
Most people usually say their favorite holiday is Christmas. Occasionally, you’ll hear someone claim New Year’s Eve, some may say Thanksgiving… but mine is Valentine’s Day, without a doubt. All the pinks and reds, laces and ruffles, themed treats and gifts; it’s so much fun! As a maker, I find myself always looking for opportunities…
Do you ever see a designer dress or RTW (ready to wear) style that you fall in love with? Do you follow that love with “I could make that”? My toxic trait is always saying “I can make that.” “I’ll just sew that up for myself.” Or even worse, telling my sister when we are…

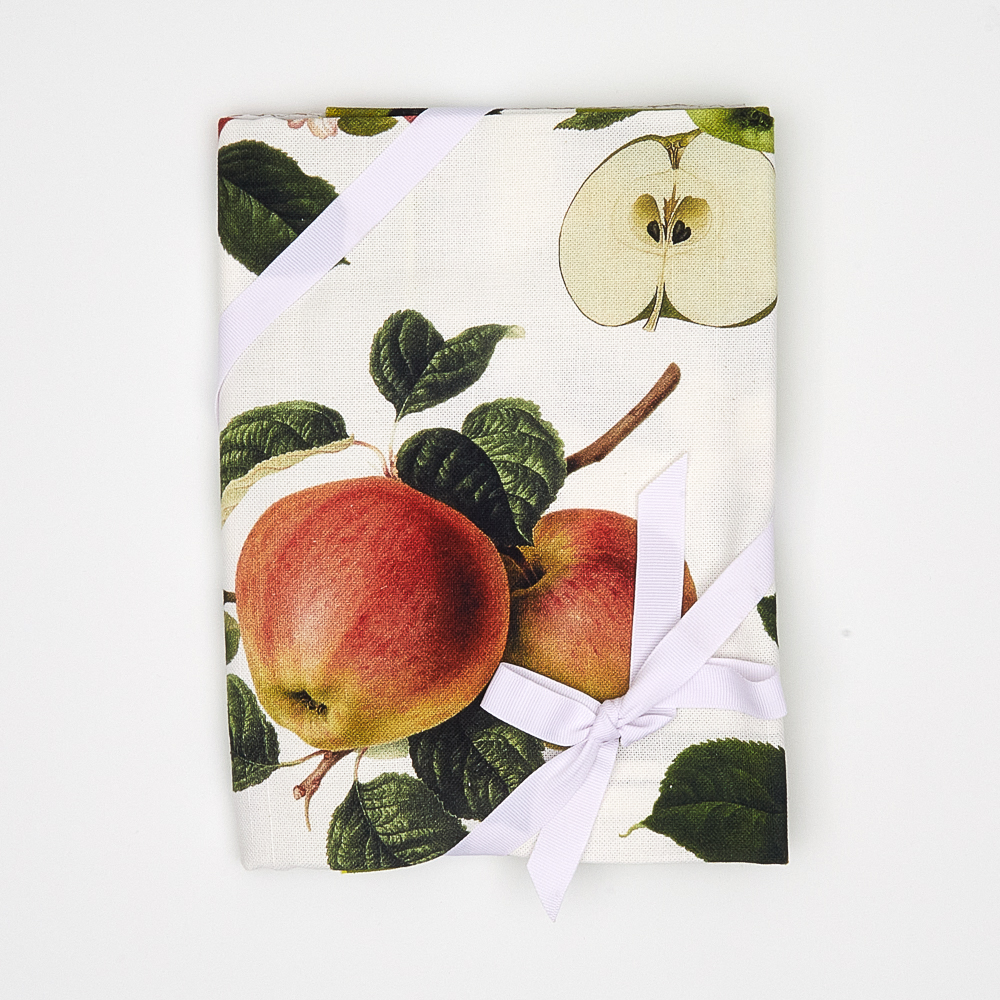
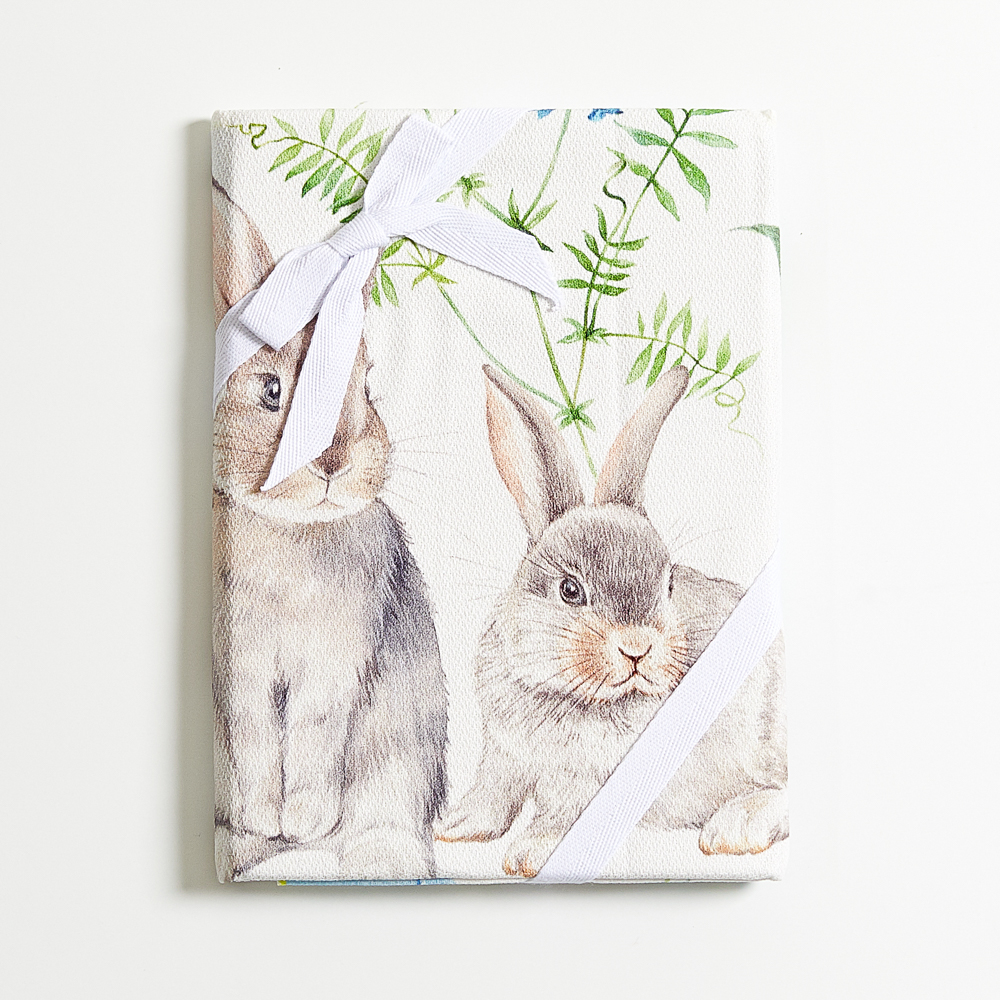

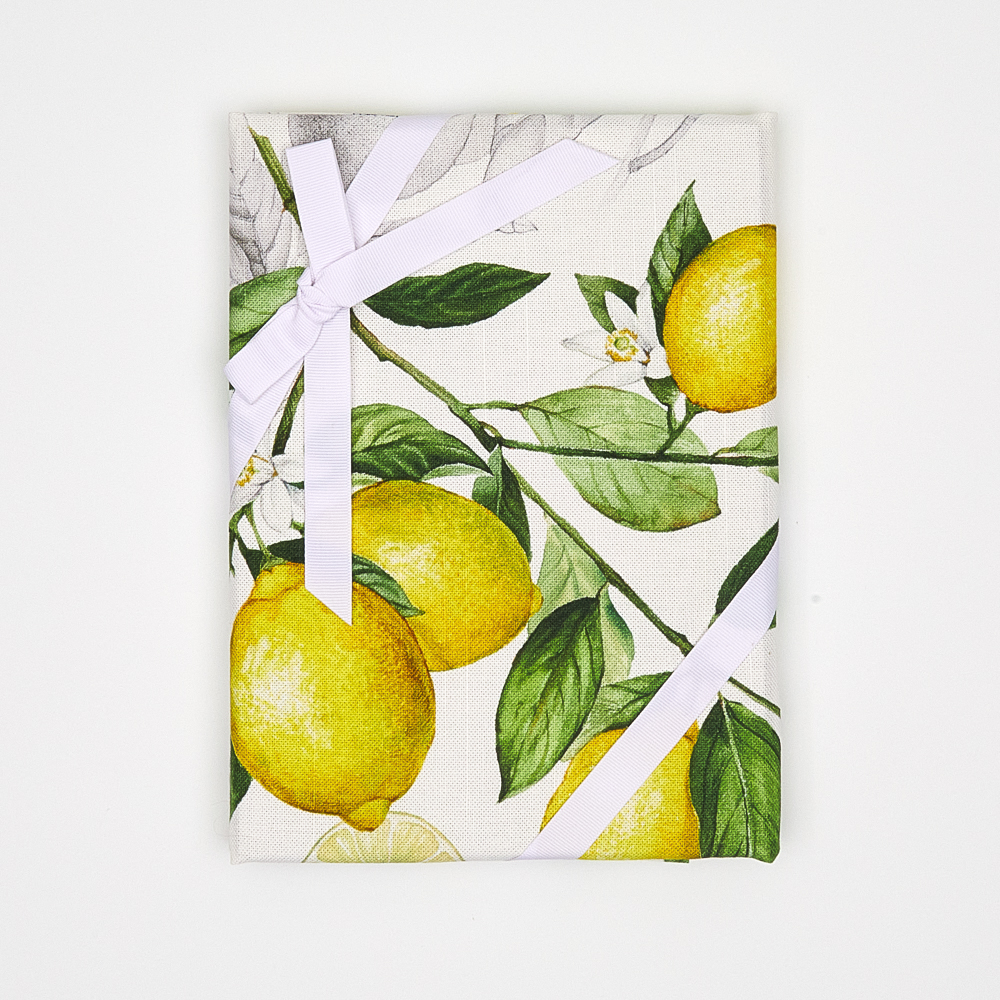


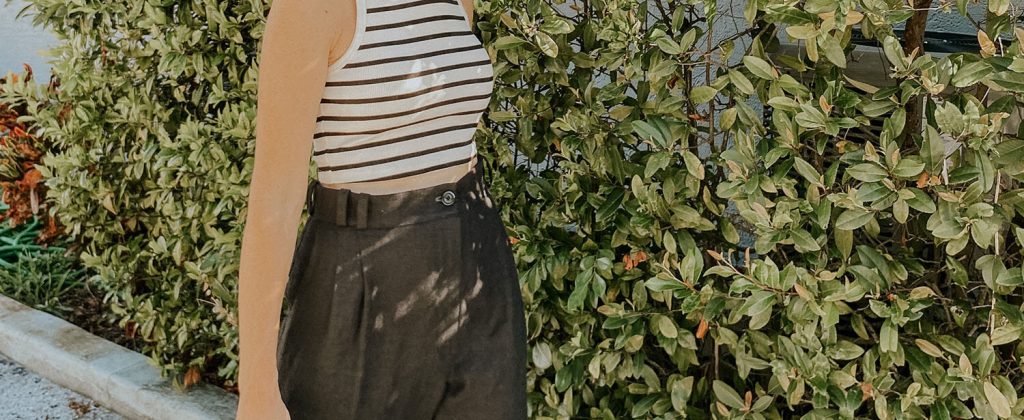
SEW THIS LOOK


Latest Posts


Search engine
Use this form to find things you need
LATEST COMMENTS
09 Apr 2023 @ 1:00 am by Erin Logan
18 Apr 2024 @ 4:25 am by Kimberly Young
18 Apr 2024 @ 4:25 am by Jennifer Arnold-deglado
18 Apr 2024 @ 4:25 am by Amanda Hyatt
30 Jan 2024 @ 8:16 am by Alexa Tawadrous