


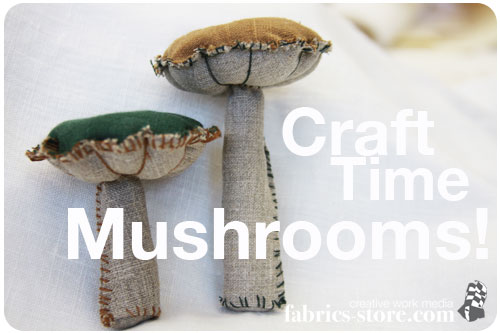
Craft Time Mushrooms!
Sometimes I like to just get out my needle and thread and start sewing something just for fun. These mushrooms are the perfect thing when I find myself in that mood.
Getting back to the basics with some good ol’ hand-stitching is just the thing I need after more intense sewing projects. Grabbing that needle and working with your hands is really satisfying sometimes. I like to sit back to crafts and work on techniques like this that tend to get a little rusty over time.
In this case, it’s relaxing and produces charming results! All you need is a few scraps of linen and you can have yourself a nice pastime for the afternoon.
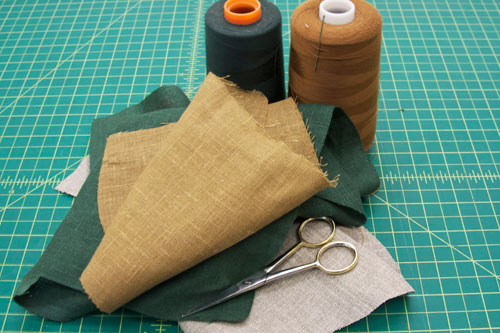
Materials:
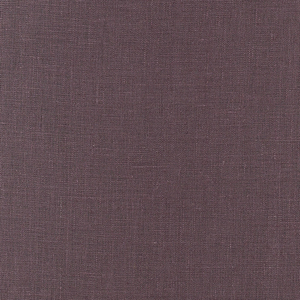
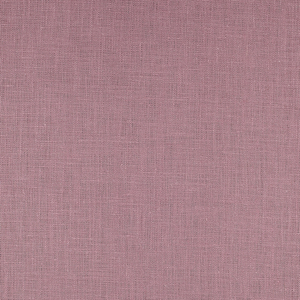
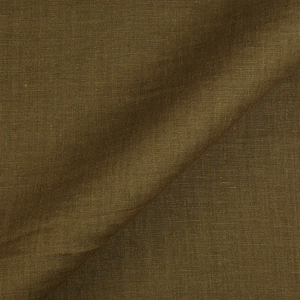
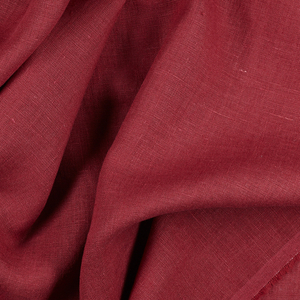
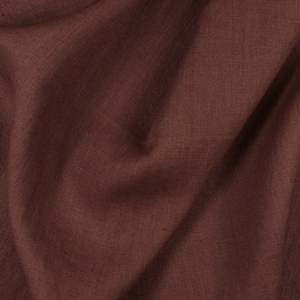
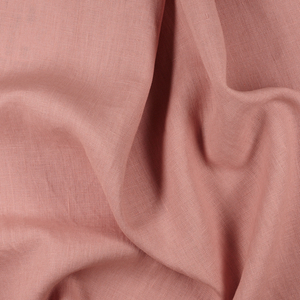
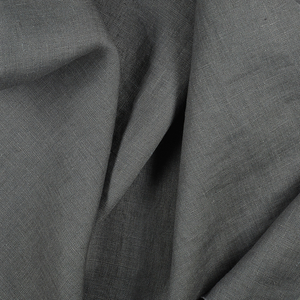
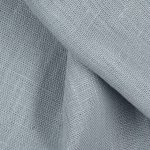
- Two different colors of linen. I show a few different earth tones in the picture above that look nice for mushrooms, but pick whatever colors you like!
- Scissors
- Thread
- Fluff to stuff them with!


Pull the thread to the middle point of the green linen and then back down through the center. Repeat this until the pincushion effect is complete. The reason you pull the thread through the inside and to create that bulging effect. The fluff inside becomes sectioned off by the thread and pushed against the linen with each stitch this way.
Just be sure to pull the thread snuggly. You’ll see what I mean when you begin sewing. It all works out once you pull the thread through the center.

Now just attach the stem to the cap and you are left with an adorable mushroom! Sometimes we need a fun craft to keep busy and just relax with. I love going back to hand-stitched crafts now and then. These mushrooms make a great craft on those days when you just want to sit around and sew for fun.
*How did you like this craft time mushroom post? It’s a fun way to use up those scraps you have laying around! Feel free to leave your comments and "like" us on Facebook! if you need some new linen colors for your mushrooms, be sure to check out all the options here!

Leave a comment
Related posts
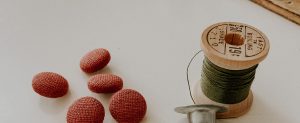
Tutorial: How to Make Fabric Buttons
If you’ve ever considered trying fabric covered buttons, this is one of my favorite projects and I am delighted to encourage you to try them. I hadn’t made the buttons with linen before so I was so excited about this project. When I first made fabric covered buttons years ago, I chose cottons with tiny…

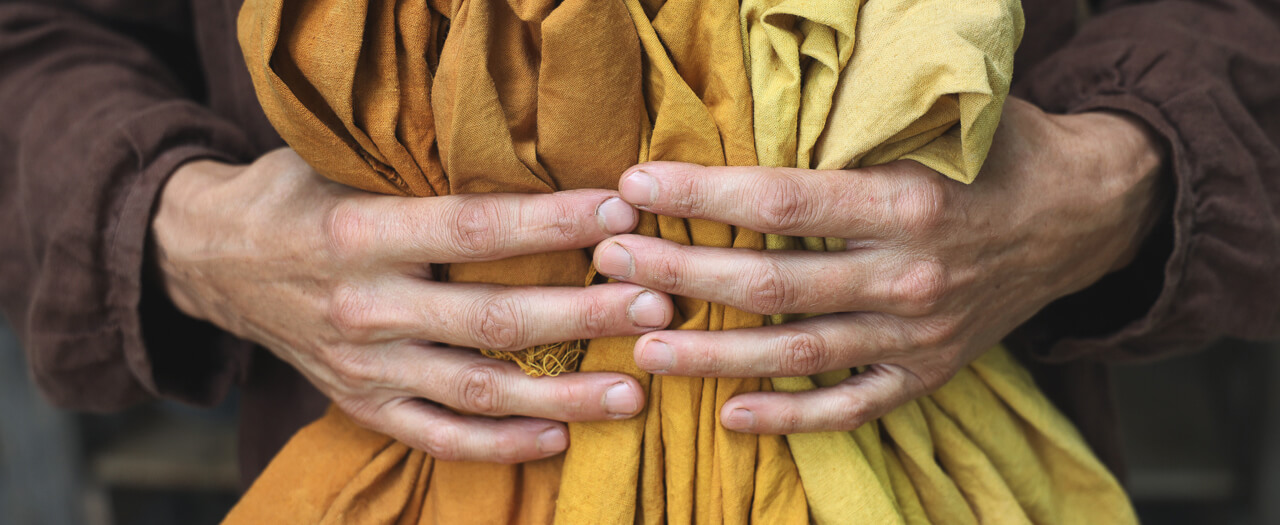
From Farming to Folk Art: Sara Buscaglia
There is a remarkable symbiosis between Sara Buscaglia’s life and work; she seamlessly blends her charmingly old school textile art – mostly exquisitely handcrafted quilts, but also knitting and clothing – with running a successful and prolific organic farm, where she is currently raising a family of four children alongside her husband. Based in La…

Tutorial: How to Trace Off a RTW Garment
You know that one well-worn, probably damaged-beyond-repair item in your closet you bought off the rack ages ago that you still hold on to because you just love the way it looks and fits? Or maybe it’s a garment you think would look amazing in another fabric that the original wasn’t offered in? Well, have…

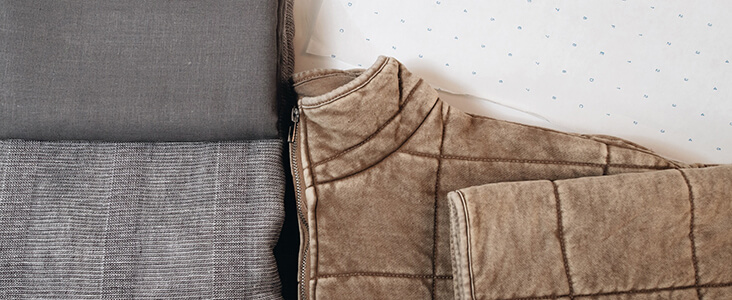
Tutorial: How To Make A Quilted Linen Vest
A few years ago, I started to play with quilting clothes. The first few pieces turned out less than ideal. I didn’t know the paths to avoid the foibles of quilting. But after a few playful experiments and failed garments, things started to fall into place. I’ve put together this tutorial to share the things…

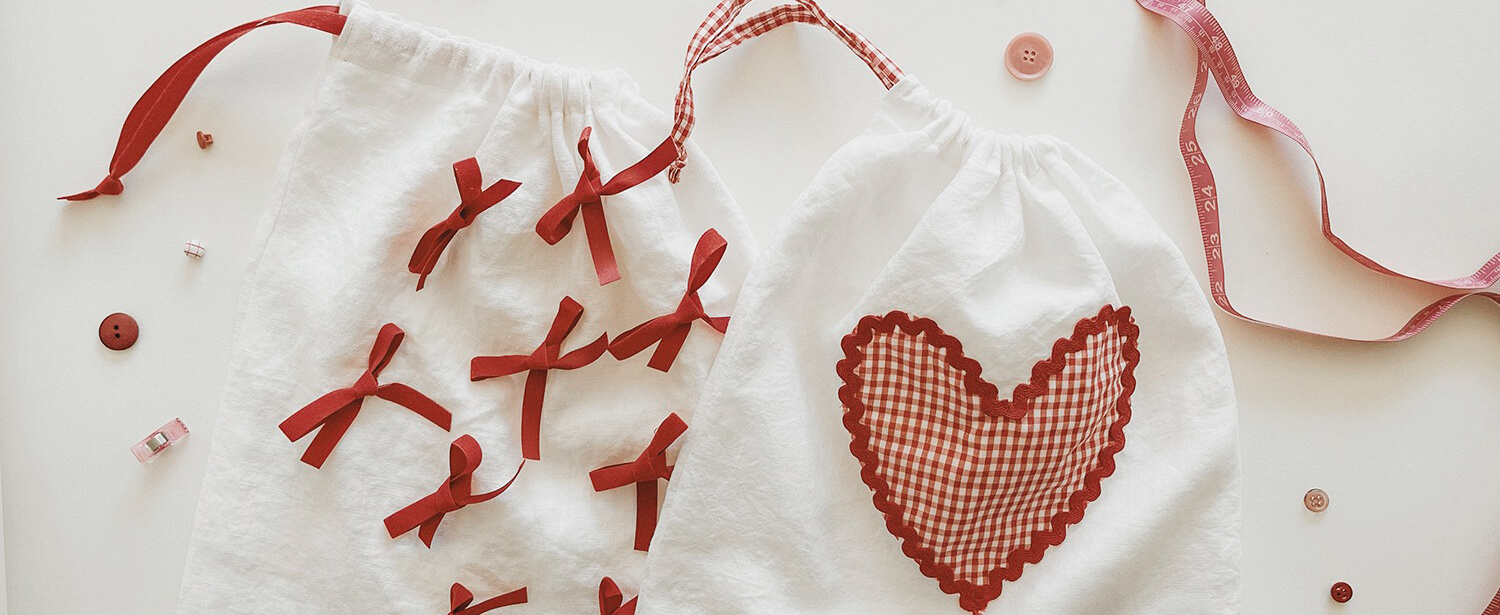
Tutorial: Valentine’s Day Treat Bags
Most people usually say their favorite holiday is Christmas. Occasionally, you’ll hear someone claim New Year’s Eve, some may say Thanksgiving… but mine is Valentine’s Day, without a doubt. All the pinks and reds, laces and ruffles, themed treats and gifts; it’s so much fun! As a maker, I find myself always looking for opportunities…


SEW THIS LOOK


Latest Posts


One Comment
Pingback:
Make these Christmas Mushroom Decorations for Gifts