


Checkered Napkins Tutorial

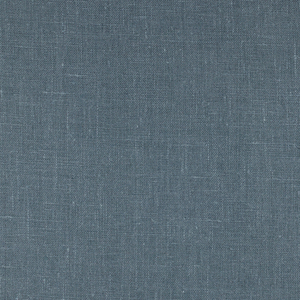
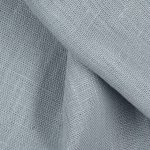
It is finally time for one of our yarn dye linens to get the spotlight! This linen features a beautiful checkered pattern that is perfect for a set of napkins.
I added a fun, yellow trim to border this easy-to-make set of napkins. This is a great tutorial on how to use bias tape, which, you will discover, is the greatest sewing aid! If you are an experienced sewer, this is a simple craft that will definitely liven up your table!
In just a few easy steps, you will have a gorgeous new set of napkins that will brighten up your table.

Materials:
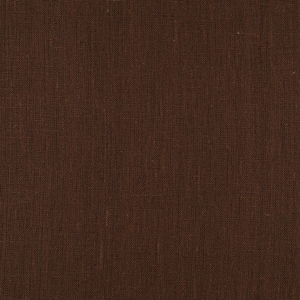
- Checkered linen. I used IL074, which is in a yarn dye that I love.
- Bias tape. I used a bright yellow color, but you can pick any color you like. This is easy to find in any craft or fabric store.
- Sewing machine
- Scissors
- Measuring tape


I pinned the bias tape open to show what it looks like. All you need to do is insert the edge of your linen into that fold. It should line up nicely so you can sew the bias tape all around the edge of your napkin.


Leave a comment
Related posts
Tutorial: How to Make Fabric Buttons
If you’ve ever considered trying fabric covered buttons, this is one of my favorite projects and I am delighted to encourage you to try them. I hadn’t made the buttons with linen before so I was so excited about this project. When I first made fabric covered buttons years ago, I chose cottons with tiny…

From Farming to Folk Art: Sara Buscaglia
There is a remarkable symbiosis between Sara Buscaglia’s life and work; she seamlessly blends her charmingly old school textile art – mostly exquisitely handcrafted quilts, but also knitting and clothing – with running a successful and prolific organic farm, where she is currently raising a family of four children alongside her husband. Based in La…

Tutorial: How to Trace Off a RTW Garment
You know that one well-worn, probably damaged-beyond-repair item in your closet you bought off the rack ages ago that you still hold on to because you just love the way it looks and fits? Or maybe it’s a garment you think would look amazing in another fabric that the original wasn’t offered in? Well, have…

Tutorial: How To Make A Quilted Linen Vest
A few years ago, I started to play with quilting clothes. The first few pieces turned out less than ideal. I didn’t know the paths to avoid the foibles of quilting. But after a few playful experiments and failed garments, things started to fall into place. I’ve put together this tutorial to share the things…

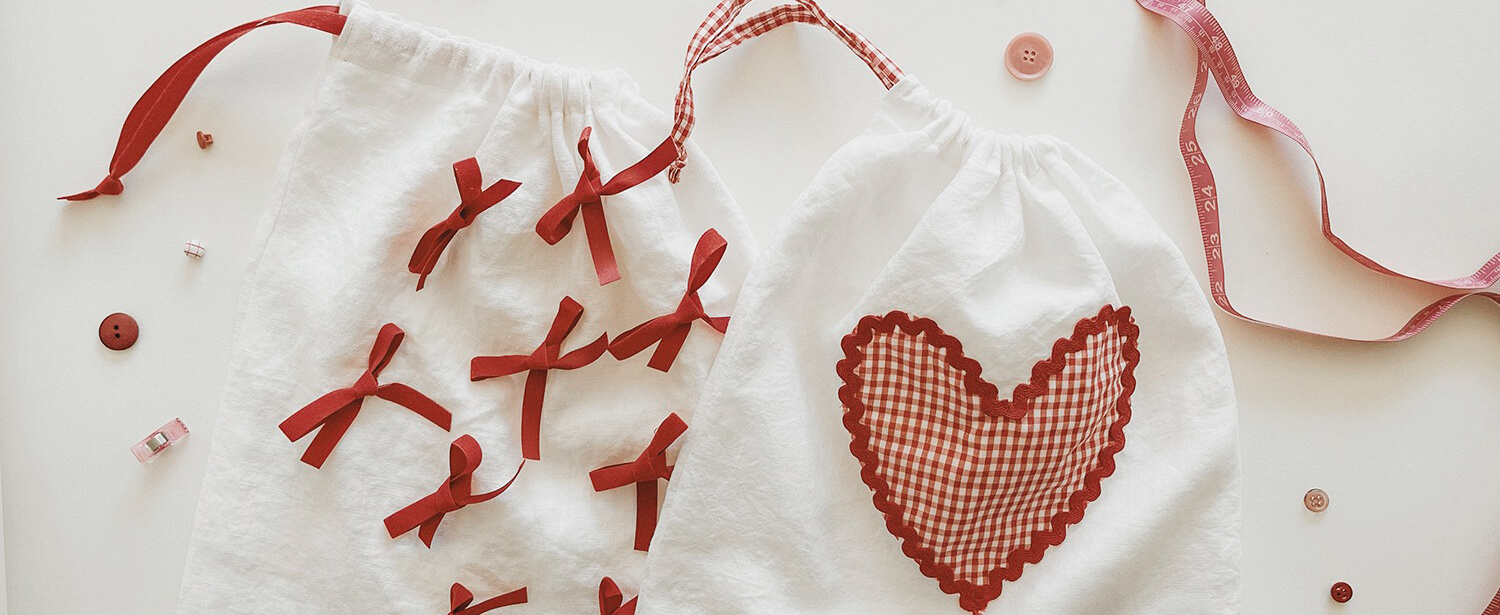
Tutorial: Valentine’s Day Treat Bags
Most people usually say their favorite holiday is Christmas. Occasionally, you’ll hear someone claim New Year’s Eve, some may say Thanksgiving… but mine is Valentine’s Day, without a doubt. All the pinks and reds, laces and ruffles, themed treats and gifts; it’s so much fun! As a maker, I find myself always looking for opportunities…


SEW THIS LOOK


Latest Posts


9 Comments
nicole novembrino
The linen is used is IL074. At the moment, we only offer it in one shade. It is sort of a beige/grey checkerprint.
http://www.fabrics-store.com/first.php?goto=showarticles&menu=f&article=173
Autumn
Really liked this tutorial. I’ve made my own but it’s always a pain to make the corners~ why didn’t I think of rounding them like this! Thanks for the tip!
AmyCat =^.^=
to Yolanda: I don’t know what they did here, but I’d STRONGLY recommend pre-washing and machine-drying ALL your fabric unless you NEVER intend to launder the finished product. This is especially important if you’re using another type of fabric (in this case, the bias tape, which is a poly-cotton unless you make your own tape) which won’t shrink the same as the linen. Having “casual” linen napkins which would need to be either drycleaned or else hand-washed and line-dried sorta defeats the purpose of a NAPKIN…
Once you’ve pre-shrunk your fabric, you will need to iron it to get it back in shape for cutting.
If you have an overlock (Serger) machine, you can do an even simpler edge with stretchy decorative-overlock thread. However, both that and a bias-tape edge will eventually pull off the edge of your fabric; a rolled hem is best if you want to be using your napkins ’til the linen wears out!
My dad (age 87) is still using (as “every-day” stuff, for two or three meals per day) a set of casual linen place-mats which he and my late mother got as wedding presents in 1954… The color’s a bit faded, and there are some stains (grape jelly, beet juice) that won’t come out… but the FABRIC is still strong. Good linen WILL last for decades, even with heavy use!
Lynn Rine
Fabric of Life
I was in tears when you mentioned me on your website on the napkins. I never thought I would be mentioned on the computer, thank you. All of you are Dolls! When you need me again to do more let me know. I would love to help again it gets me out of the house. From Lynn
Melody
Hi….exactly what color is this fabric, I couldnt tell from my monitor. Thanks for an email back.
Melody
Yolanda
Lovely! Did you wash and dry and iron the fabric first? How many napkins can I get from one yard of fabric?
Dollie Hunnicutt
I love them will make them in blue for my niece since her decor is blue thanks.
Dollie Hunnicutt
Love it will try to make them for my niece she would love them on her table but,I think I will do it in a pretty blue trim since she has blue in her decor.
Linda Holder
I liked napkin rounded corners and I liked the colors you use together. I that I get to make some soon and thanks for the ideal you had.