


A Handy Linen Sack Tutorial
This handy linen sack can be used in so many different ways. It is the perfect reusable bag for your sack lunch or a great way to store fruits in your home.
You’ll find tons of ways to use your bag! I plan on making a few bags in different colors to use and give away.
This bag is made simply by sewing together two basic shapes- a triangle and a diamond. This is kind of geometry I don’t mind! The two shapes come together to create a stylish and clean aesthetic that I absolutely adore.
Another thing I love about this bag is that it is perfect for anyone. Women and men can use this sack, as well as children. Unlike other crafts, this one can be enjoyed by everyone.

- Linen
- Sewing machine
- Scissors
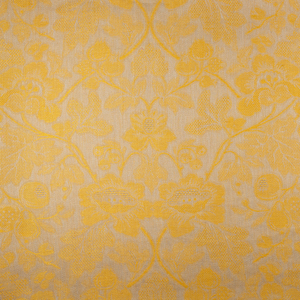
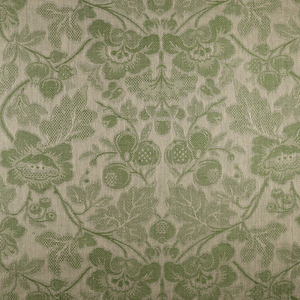
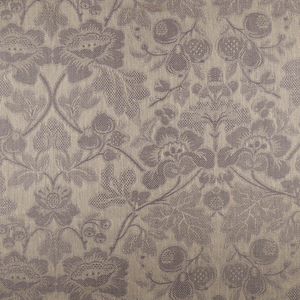
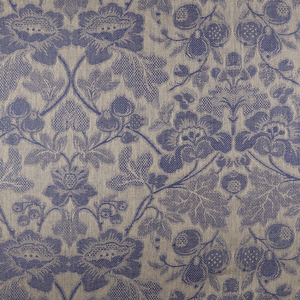
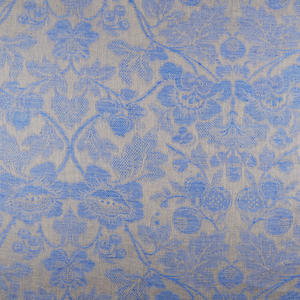
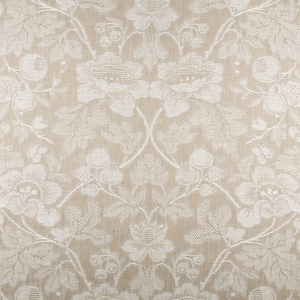
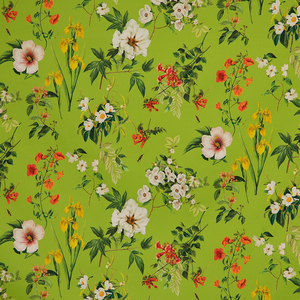
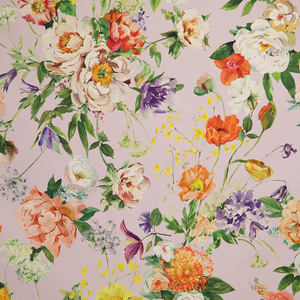
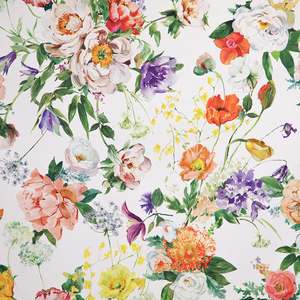
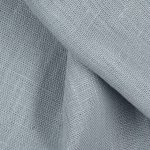
I chose two of my favorite green shades in IL019 for my linen sack- Hunter Green and Willow. This is an ideal time to get your green linen too. The Lush Green Sale offers every shade of green linen, so get shopping and take advantage of these low prices!
I usually buy my linen when it is on sale and add it to my collection of colors. You never know when you will need a certain color! Green is also a standard color that I need…..in multiple shades.

Cut one triangle and one diamond from your fabric using the measurements provided. You can alter these measurements to make a smaller or larger sack.
The only thing you need to remember to do is keep the length of the folded measurement the same for both shapes. In this case, that is the length that measures 21 inches for both pieces of linen.


Sew along the line where the two pieces touch like in the image above. Make the seam from the inside in order to hide it (so flip the fabric inse-out to begin with). That is the first seam- only one two more to go!
To make the next seams, fold both outside corners toward the center.

Sew this from the inside (so have everything inside-out) that way the seam is hidden.Now just make a seam along the bottom of the sack. That’s the last step!


I love crafts like this that are simple and have a clean aesthetic. It is something I will enjoy using all the time.


I hope you all liked this craft as much as I did!

Leave a comment
Related posts
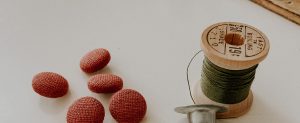
Tutorial: How to Make Fabric Buttons
If you’ve ever considered trying fabric covered buttons, this is one of my favorite projects and I am delighted to encourage you to try them. I hadn’t made the buttons with linen before so I was so excited about this project. When I first made fabric covered buttons years ago, I chose cottons with tiny…

From Farming to Folk Art: Sara Buscaglia
There is a remarkable symbiosis between Sara Buscaglia’s life and work; she seamlessly blends her charmingly old school textile art – mostly exquisitely handcrafted quilts, but also knitting and clothing – with running a successful and prolific organic farm, where she is currently raising a family of four children alongside her husband. Based in La…

Tutorial: How to Trace Off a RTW Garment
You know that one well-worn, probably damaged-beyond-repair item in your closet you bought off the rack ages ago that you still hold on to because you just love the way it looks and fits? Or maybe it’s a garment you think would look amazing in another fabric that the original wasn’t offered in? Well, have…

Tutorial: How To Make A Quilted Linen Vest
A few years ago, I started to play with quilting clothes. The first few pieces turned out less than ideal. I didn’t know the paths to avoid the foibles of quilting. But after a few playful experiments and failed garments, things started to fall into place. I’ve put together this tutorial to share the things…

Tutorial: Valentine’s Day Treat Bags
Most people usually say their favorite holiday is Christmas. Occasionally, you’ll hear someone claim New Year’s Eve, some may say Thanksgiving… but mine is Valentine’s Day, without a doubt. All the pinks and reds, laces and ruffles, themed treats and gifts; it’s so much fun! As a maker, I find myself always looking for opportunities…


SEW THIS LOOK


Latest Posts


6 Comments
Robyn
I used the fabulous quick pattern using 2 tones on natural linen and lined it in the opposite colours for durabilityand weight
I also added a 2″ x 8″ strap connecting the two pointed ends and then added a big wooden button to embellish. Just love it and will use it to sell at my market stalls
Ally
The strap on my purse just broke on me this week and I’ve been trying to figure out what I wanted next. I had went to the store and found nothing I liked and so I been looking through fabric at home to make my own.
Well, didn’t know what design I wanted to use, but this just gave me one, so now I know what materials too. 🙂 Going to be adapting this pattern into one with a long strap and as I don’t have enough of the second color it will end up being a sort of quilted patchwork purse with four different colors peiced together before I cut out my diamond. 🙂 Cheers and thanks for the creative help!
AmyCat =^.^=
These would also make good bags for gifts: if you tie the pointed ends together to close the bag, they’ll make a decorative “bow” at the top.
You could also cut an oval or round “base” piece to sew onto the bottom, instead of just sewing the bottom closed. With such a base, if you made the bag tall and skinny, it’d be a good gift bag for wine, spirits, or homemade herbal vinegars.
Mary Ann Tanking
I like this… am thinking it would be good for small items that you take to the Y… also, put a loaf of banana bread in and deliver it to a neighbor.. (tie the ends in a loose knot.. I have heavy on hand in white and natural… so will use some of that for my first try… Think wine and pink or red and orange for Valentine Day gifts holders… mat
Karen
Your bag is very cute!:) I do have a thought though, your pointed ends would flow nicely sewn into a long strap that you could wear on your shoulder. You could embellish your bag with the pretty linen flowers that you have made. 🙂 It would make a cute reusable grocery bag maybe in a heavier weight linen or something reinforced in the bottom for durability..
Laura Bullinger
LOVE it! I will “steal” this for summer craft fairs ! So I plan on purchasing some yardage from you in a couple of weeks!