


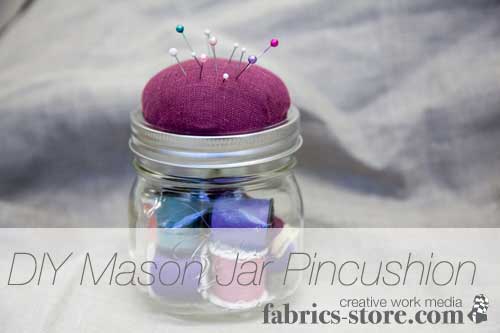
Mason Jar Pincushion Tutorial

I know we just went over a creative pincushion idea (our last post on The Sewing Machine Pincushion) but I figured we’d keep rolling with this idea. ‘ You can never have too many crafts to consider, right?
This craft functions as both a pincushion and storage device. ‘ It’s the perfect way to keep things organized without having to rely on unattractive plastic storage containers. Stick your pins on top and place spools of thread inside.
If you are like me, you have a stash of mason jars just waiting to be used!’ I honestly use them for everything from drinking vessels, snack jars, and plant pots.’ If you find yourself without a mason jar, then you can find them at just about any market, 99 cent store, or thrift store.’ The best thing about them is that they are incredibly affordable.
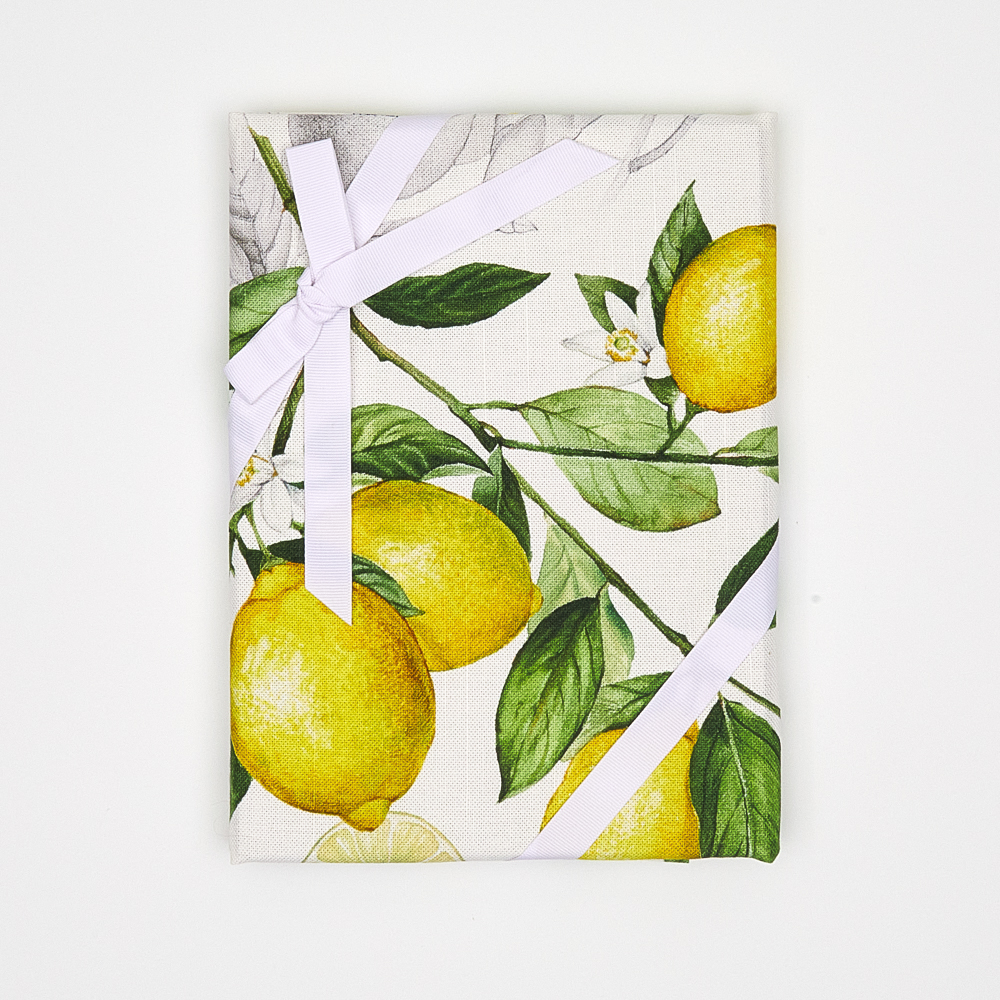
I love using this idea as a gift for any fellow crafter friends I have. ‘ You can place some delicate lace, unique ribbons, interesting buttons, or decorative thread inside to complete your thoughtful gift. ‘ You’ll see how endless the options are once you browse a craft store!

Materials:
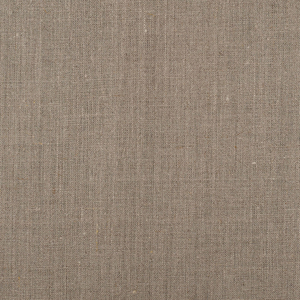
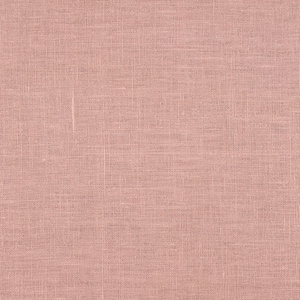
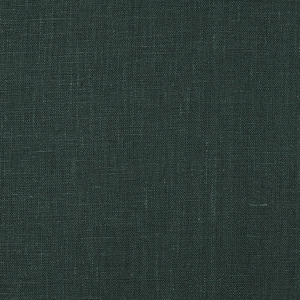
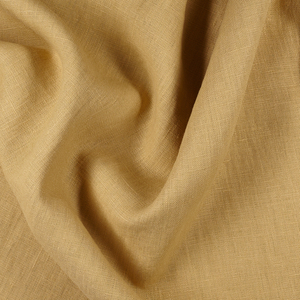
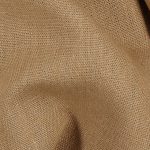
- Linen
- Mason’ Jar
- Cardstock or any thick paper you find.
- Stuffing material or “œfluff”
- Craft glue, super glue, or a glue gun
- Pencil
- Scissors

First, trace a circle onto your paper. ‘ I found an old folder to use, but you can use card-stock, scrapbooking materials, or any type of thick paper you have around your home.
A great idea is to use paper with a pattern on it to make your jar extra snazzy.
Just place the inside of the lid on top of your paper and trace it.

Cut the circle out using your scissors. ‘ You can place this aside until we need it later on.


Place the linen over the lid (mine is off center to show you which way the lid is facing). ‘ The lid should be facing downwards like so.

With your linen centered above the lid, put some “œfluff’ in your circle of fabric. Push it through a bit so a bulge is created.


The lid should be locked into place once you push it up.

Glue the extra lengths of fabric down under the lid.

It’s not pretty but it’s okay! We are covering this part up next.’ Now we can make use of the paper circle we cut earlier.

Put some glue on one side of the paper and place it under the lid. ‘ This will cover up the fabric and make your lid look neater.

You mason jar pincushion is almost complete…..all you need to do now is place some sewing supplies inside and twist on your lid!

There we go. Much better! How sweet does that look? ‘ It took almost no time at all to make too!
[maxbutton id=”1″]
*Let us know how you liked our latest pincushion idea. ‘ We love reading your comments and thoughts on our blog or’ Facebook.

Leave a comment
Related posts
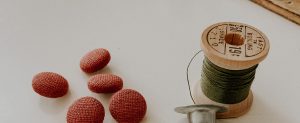
Tutorial: How to Make Fabric Buttons
If you’ve ever considered trying fabric covered buttons, this is one of my favorite projects and I am delighted to encourage you to try them. I hadn’t made the buttons with linen before so I was so excited about this project. When I first made fabric covered buttons years ago, I chose cottons with tiny…

From Farming to Folk Art: Sara Buscaglia
There is a remarkable symbiosis between Sara Buscaglia’s life and work; she seamlessly blends her charmingly old school textile art – mostly exquisitely handcrafted quilts, but also knitting and clothing – with running a successful and prolific organic farm, where she is currently raising a family of four children alongside her husband. Based in La…

Tutorial: How to Trace Off a RTW Garment
You know that one well-worn, probably damaged-beyond-repair item in your closet you bought off the rack ages ago that you still hold on to because you just love the way it looks and fits? Or maybe it’s a garment you think would look amazing in another fabric that the original wasn’t offered in? Well, have…

Tutorial: How To Make A Quilted Linen Vest
A few years ago, I started to play with quilting clothes. The first few pieces turned out less than ideal. I didn’t know the paths to avoid the foibles of quilting. But after a few playful experiments and failed garments, things started to fall into place. I’ve put together this tutorial to share the things…

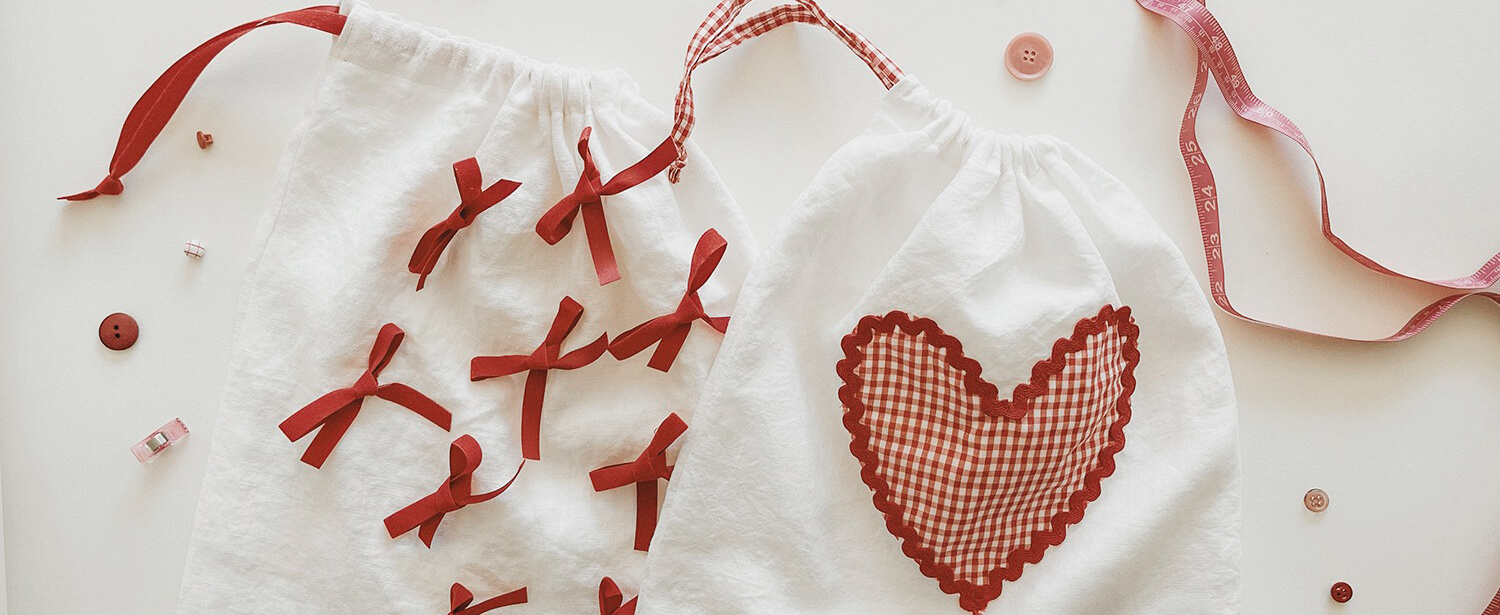
Tutorial: Valentine’s Day Treat Bags
Most people usually say their favorite holiday is Christmas. Occasionally, you’ll hear someone claim New Year’s Eve, some may say Thanksgiving… but mine is Valentine’s Day, without a doubt. All the pinks and reds, laces and ruffles, themed treats and gifts; it’s so much fun! As a maker, I find myself always looking for opportunities…


SEW THIS LOOK


Latest Posts


22 Comments
Pam Thomsen
If you used a larger jar, you could actually make sewing kits for those non-sewers out there! Great gift.
Melanie
In the picture of the inside of your finished lid it appears that all the depth of the lid (and all the spiral ‘screw thread’) has been taken up with fabric and batting, I can’t see even one round of the ‘screw thread’ left available on the lid to screw it on. How does one keep the lid on the jar if the lid is so full that there are no ‘screw threads’ left to screw onto the matching threads of the jar?
Susan
This is great! I always have several children’s clothing projects on the go. A jar with a pin cushion for each project would allow me to keep matching buttons, zippers, threads, etc. tucked in the jar and close at hand when I want to work on one of them.
JackieC
Great idea! I have just recently (within the last year) stated sewing and it amazes me how quickly the “odds and ends” add up and just end up finding new homes all over the my craft room. This is a great idea and as was shared already, this looks great! New project for the weekend! Yea! I think crafters are very kind people! Thank you for sharing this wonderful idea!!!
Marguerite
This is such a cute idea, but I’d need 100 gallon jars maybe hold all the thread and pins I have oh hand.
Gail Ann Wacker
Marguerite, I laughed my chubby butt off over your comment! Thanks for the laugh!
Diane
This is perfect to take to the retreat with my online quilting buddies, Cobbled Court Quilt Circle.
jen
I do like theses ideas you keep posting.Wonderful for little gifts. Thank you
claudia jn baptiste
a very functional idea, I will actually use a large jar so as to store as much thread as possible.
AmyCat =^.^=
…Another thing: use the bits of fabric scrap from your Serger, or other snippets and scraps that’re too small for any other use, instead of (purchased) poly-fill stuffing. Waste not, want not! (I keep a 5-gallon bucket below my Serger for those “too small to use, even for doll clothes” bits, and haven’t bought stuffing-material in over a decade…)
AmyCat =^.^=
OOOh!!! For re-enactors: you could use the same technique with those wooden boxes in craft stores which have picture-frame tops! Turn the top into a pincushion, and fill the box with embroidery snips, a wooden needle-case, beeswax piece for waxing threads, and bobbins or wood spools of thread and yarn… Instant sewing/project kit to take to events, RenFaires, etc.
If, instead of a circle of paper to cover the underside, you use another piece of linen, but cut about an inch longer on one direction, you can sew parallel pleats about 1/4″ apart, sticking up, and push needles into them for storage if you don’t have a needle-case.
Marsha
I just love all the articles you have on this site. I keep making everything you suggest! I have had a wonderful time making the Kanzashi flowers! I used them on a dress I made (with your fabric) and made flowers to match for my hair, dress and shoes. I received a lot of good comments!! Thanks!
Pam OWen
I will be making these too. I have one that I was given and I use it all the time. It holds all I need to sit and fix or mend clothing and toys.
Nancy
What a great idea!! I have lots of Mason Jars and didn’t can this year so there ya go! Would make great gifts too! Thank you so much for the idea.
Karen
I love this idea. Thanks for posting it!
Myra Segars
I absolutly love this idea! Thank you for great gift ideas.
Nancy Hart
Love this too! Thanks so much!
Claudia
A great idea for using mason jars looks pretty displayed in the sewing room. Thanks for the idea!
Peggy
I can see my bookcase with lots of these for thread, needle books, buttons, bobbins — I think it would be a great way to organize my thread by color using the larger jars! thanks
Norma Johnson
This will be perfect for my friends for Christmas who think they can’t sew on a button or repair a hem. I just cleaned my stash of Mason jars.
nancy brown
I love these articles you have been emailing about nice things to sew with linen. Very fun and interesting.
Madeline Watson
This is so cute. I am going to make mine right away. I think buttons will go in it. Thanks again.