


Linen Duvet Cover
Size: Queen. Width – 86″. Length – 86″

Whether you are remodeling your bedroom or just wanted to try something new this project will be perfect. Linen it is an ideal fabric for bed linens for a couple of reasons: the way it circulates air will help you stay cool in the summer and warm in the winter, and requires little maintenance since it is very easy to wash and iron.
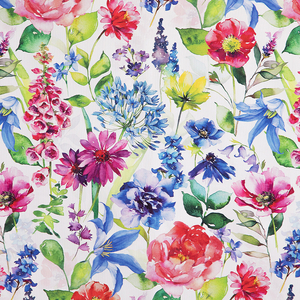
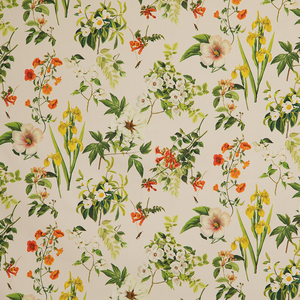
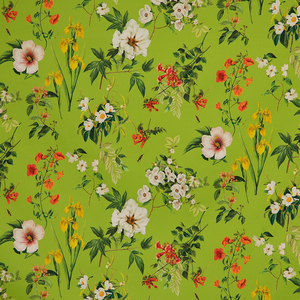
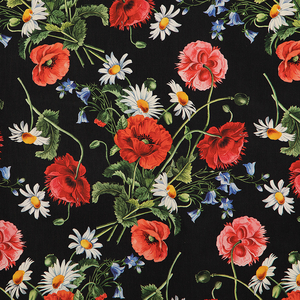
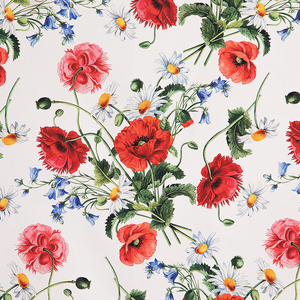
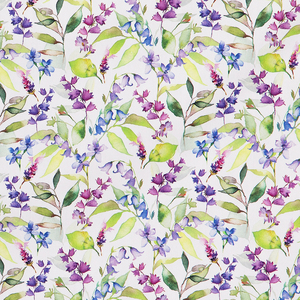
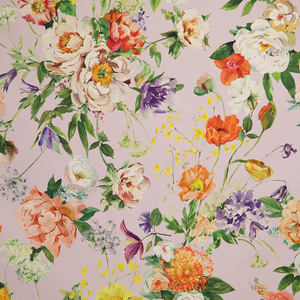
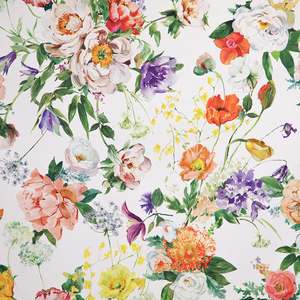
The sample duvet cover we decided to make is striped; this way there are more colors to choose from if you are interested in making matching curtains or pillowcases. We offer a couple of different color schemes you could work with and you can find them in the tools section of the magazine.
This cover is very simple to make so let’s get to it!
The pattern for the cover consists of four parts:
1) the center piece of the top
2) the left and right sides
3) the center piece of the bottom
4) the zipper.
Necessary things for the project:
1) scissors
2) sawing needle
3) iron
4) ironing board
5) ruler
6) chalk
7) sewing machine
8) over-lock machine (if you don’t have a machine that does it you can do this by hand)
9) four small white thread spools
10) striped fabric – 11yd ( or any other color you choose for your duvet cover)
11) zipper – 57″ long
Pattern pieces:
1) center piece for the top – 87″ x 57″
2) center piece for the bottom – 87″ x 57″
3) side piece#1 – 87″ x 32″
4) side piece#2 – 87″ x 32″
Before cutting out the pieces straighten out the fabric. To do this you need to get a piece of thread near the edge of the fabric going horizontally and pull it all the way through. Now you can see the straight line where you should cut your fabric before making any patterns. Next- iron the fabric.
Description to Picture #1:
-Use the chalk to draw out the shapes for all four pieces.
Piece 1 & 2 – 87″ x 57″; piece 3 & 4 – 87″ x 31″.
– Cut out the pieces.

Description to Picture #2 (the sewing of the cover):
-Use pins to connect pieces – 1 & 4, 4 & 2, 2 & 3, 3 & 1.
-Use the sawing machine to saw the four seams.
-Use the over-lock and stitch up the ends of the fabric on those seams.

Description to Picture #3:
– Iron the seams towards the center of the pieces 1 & 2.
– You now have only two sides left un-sawn the top and the bottom.
– Saw up the top side, the one that will go towards the head, and use the over lock to fix the edges.

Description to Picture #4:
– The bottom side that goes towards your feet is where we put our zipper.
– Saw up only the sides of pieces 3 & 4.
– In the opening that is left, we are going to put the invisible sipper by sawing it in with the one-sided sewing foot
– Turn the cover right side out.
– Iron it.
– Your duvet cover is ready!

Congratulations, you have now made a beautiful duvet cover all by yourself.

Leave a comment
Related posts
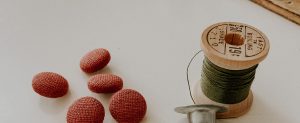
Tutorial: How to Make Fabric Buttons
If you’ve ever considered trying fabric covered buttons, this is one of my favorite projects and I am delighted to encourage you to try them. I hadn’t made the buttons with linen before so I was so excited about this project. When I first made fabric covered buttons years ago, I chose cottons with tiny…

From Farming to Folk Art: Sara Buscaglia
There is a remarkable symbiosis between Sara Buscaglia’s life and work; she seamlessly blends her charmingly old school textile art – mostly exquisitely handcrafted quilts, but also knitting and clothing – with running a successful and prolific organic farm, where she is currently raising a family of four children alongside her husband. Based in La…

Tutorial: How to Trace Off a RTW Garment
You know that one well-worn, probably damaged-beyond-repair item in your closet you bought off the rack ages ago that you still hold on to because you just love the way it looks and fits? Or maybe it’s a garment you think would look amazing in another fabric that the original wasn’t offered in? Well, have…

Tutorial: How To Make A Quilted Linen Vest
A few years ago, I started to play with quilting clothes. The first few pieces turned out less than ideal. I didn’t know the paths to avoid the foibles of quilting. But after a few playful experiments and failed garments, things started to fall into place. I’ve put together this tutorial to share the things…

Tutorial: Valentine’s Day Treat Bags
Most people usually say their favorite holiday is Christmas. Occasionally, you’ll hear someone claim New Year’s Eve, some may say Thanksgiving… but mine is Valentine’s Day, without a doubt. All the pinks and reds, laces and ruffles, themed treats and gifts; it’s so much fun! As a maker, I find myself always looking for opportunities…


SEW THIS LOOK


Latest Posts


4 Comments
fast proxy list
Hello,I log on to your blogs named “Linen Duvet Cover” regularly.Your story-telling style is awesome, keep up the good work! And you can look our website about fast proxy list https://proxylistdaily4you.blogspot.com/.
Anne Gomes
Several years ago I made a coverlet for my king size bed. Using about 6 yards of heavy weight linen, I used the same layout as the pattern, except on the seams and in place of the hem I used cording. Now, after use, including dogs who aren’t supposed to be on the bed, and many washings it is still as nice as when I made it, but softer and it has acquired an almost silvery patina. I love it and the matching shams. Very elegant, functional, long lasting and beautiful.
Pingback:
shcia.comJulie
I modified these instructions to make a CA-king sized duvet cover. (Used full fabric width for all four pieces, and made it a little longer.) Ordered the fabric from the “doggie bag” page and had enough to make the duvet cover and three king-size pillowcases. I bought three 4-yard pieces and one 3.5-yard piece.
I started with IL019 in white, which I prewashed and dried in the dryer before cutting. After cutting out the pieces and serging the raw edges, I washed the fabric again and then tie-dyed it. Then I assembled the duvet cover as instructed.
However, I used buttons for the closure, not a zipper. Actually I have not seen an invisible zipper in that length anywhere, but it wouldn’t have to be an invisible zipper.
Linen takes fiber-reactive dyes beautifully. I use procion-mx type dyes and the results are stunning.