


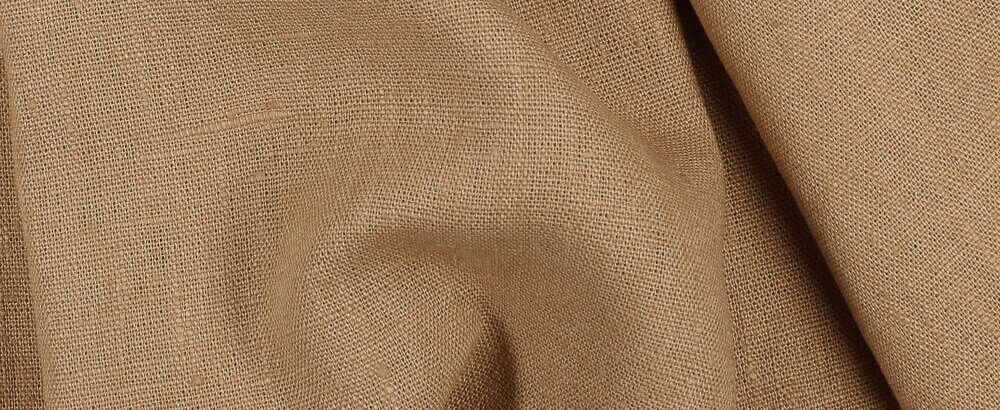
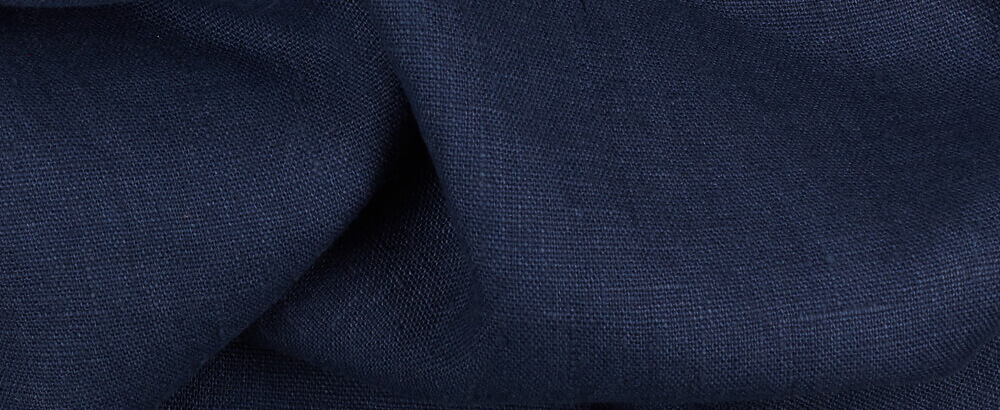
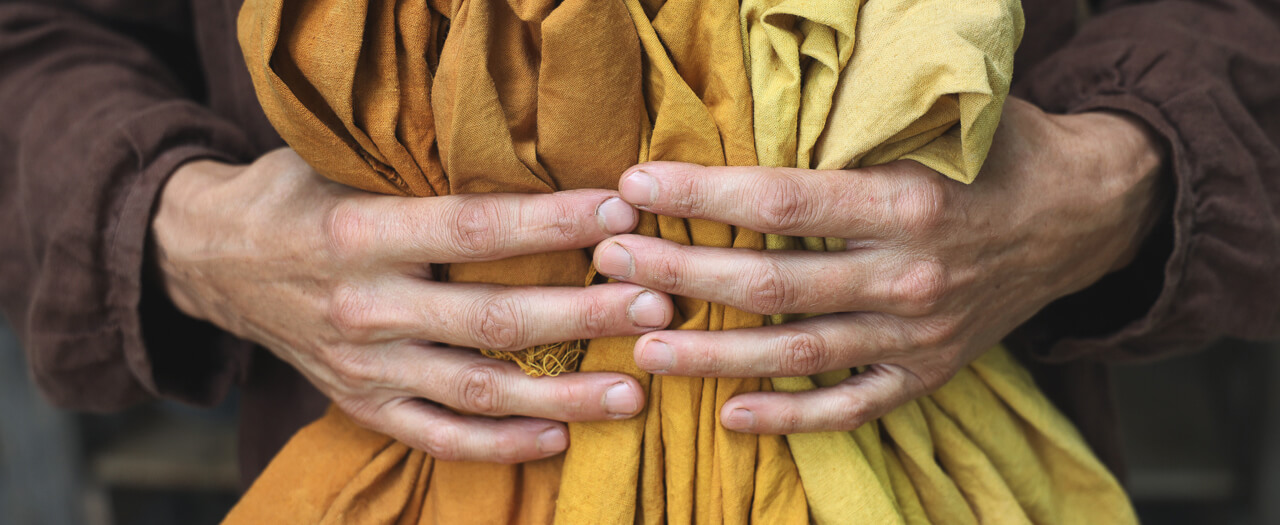
The warm, soft hue of CAMEL can be seen throughout the art of daring French realist painter Gustave Courbet, a raw, human, and naturalistic hue that allowed him to convey the humble, truthful elements of nature with great clarity and honesty. While Courbet might have attracted the most controversy and attention for his politicised figurative…
FS Colour Series: CAMEL Inspired by Gustave Courbet’s Sandy Brown
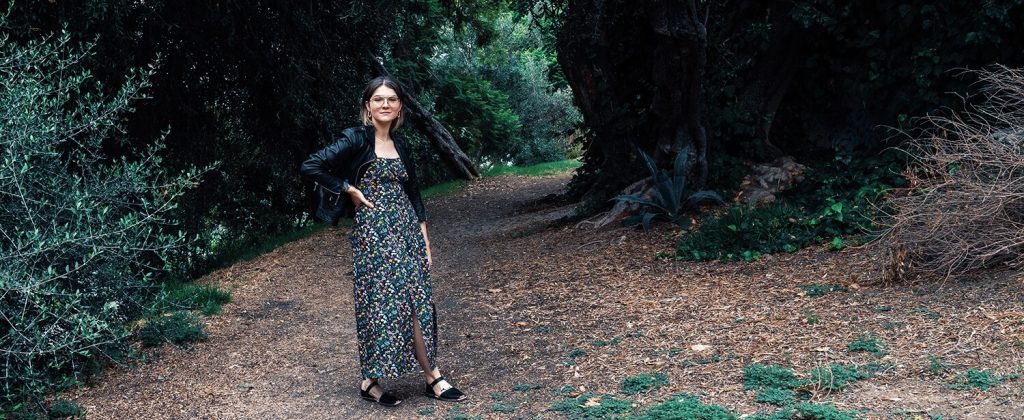
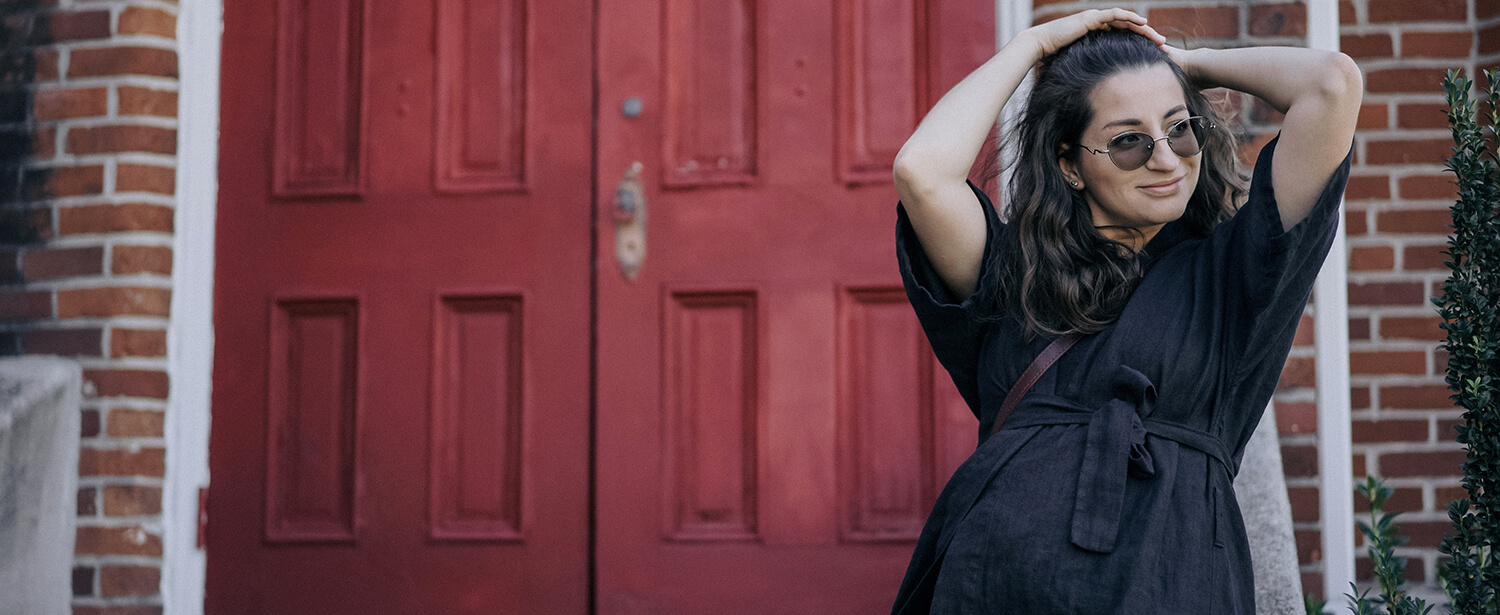
If you have read other articles of mine you may see a theme in what I tend to sew. Big pants. Button-ups. But I have been leaning into sewing dresses over the last couple of seasons and it has been a journey. A journey both fun as well as…exhausting? Is that the right word? As…
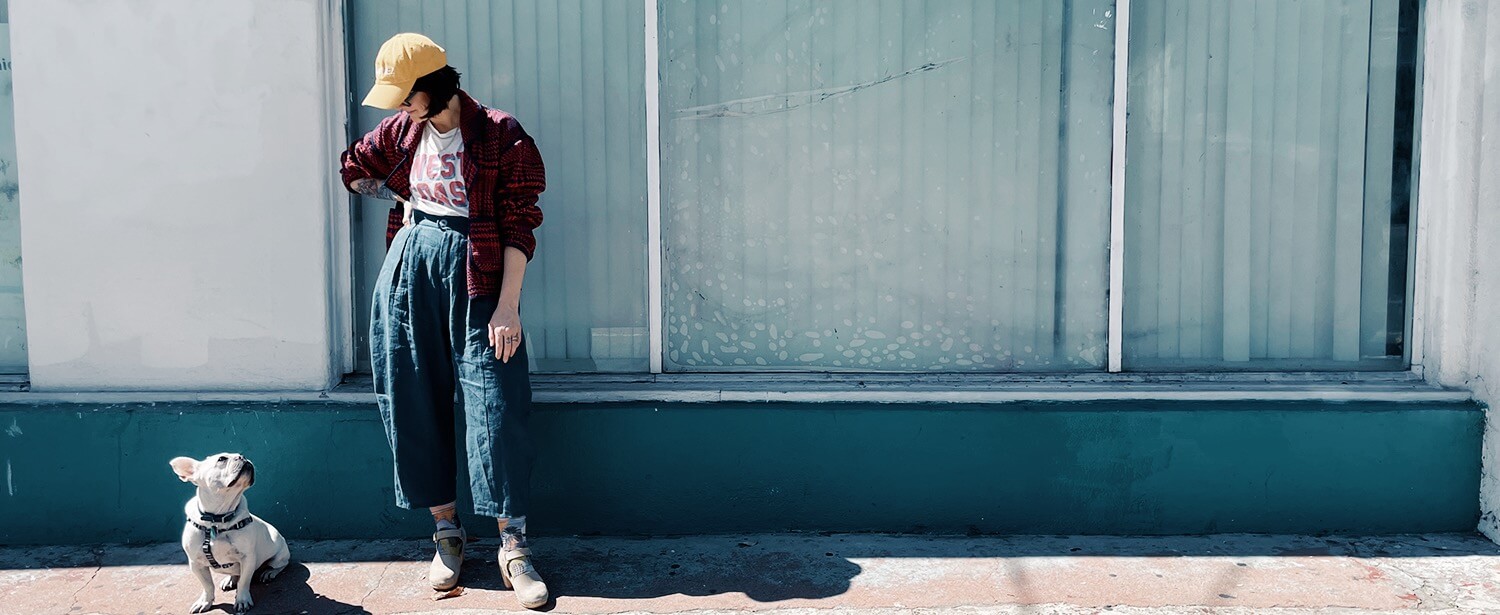
This past summer, I invested an extraordinary amount of time and creative energy into sewing what makes me happy. This broken record is called “Dopamine Sewing,” lest you not forget, haha. As the summer ended it was important for me to continue to practice this kind of sewing into fall: if it makes [me] happy…
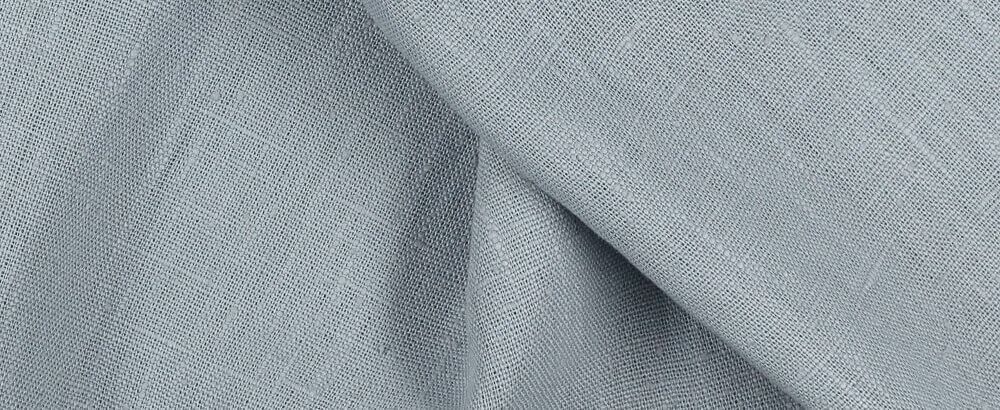
With her remarkable sleight of hand, American Impressionist painter Mary Cassatt was able to capture the breezy, airy effortlessness of daylight falling across the clothing and skin of her subjects. Cool pastel shades like BLUE QUARTZ were one tool in her armoury that she would return to over and over, for its ability to convey…
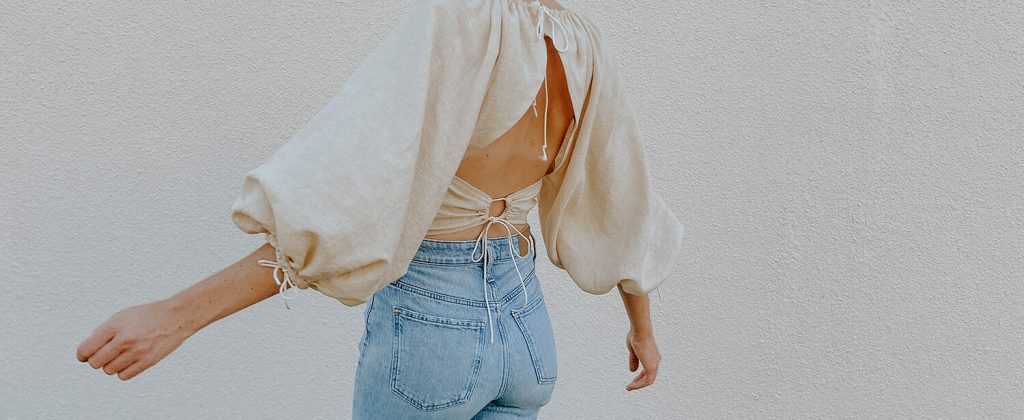
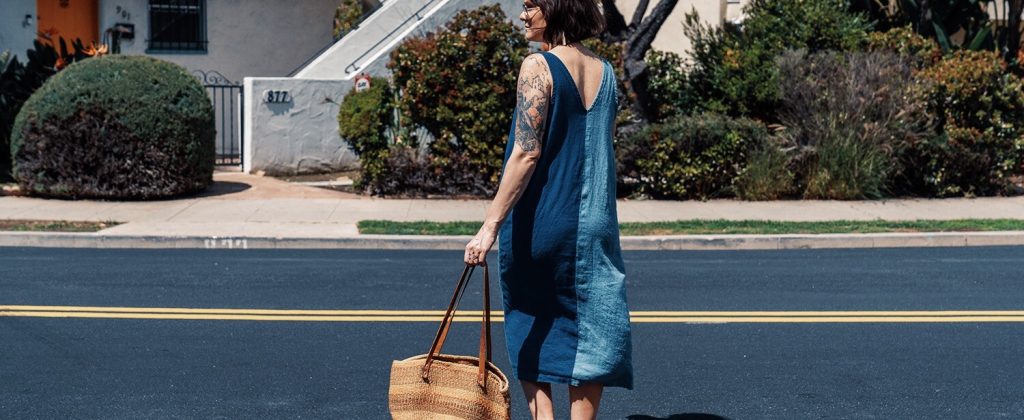
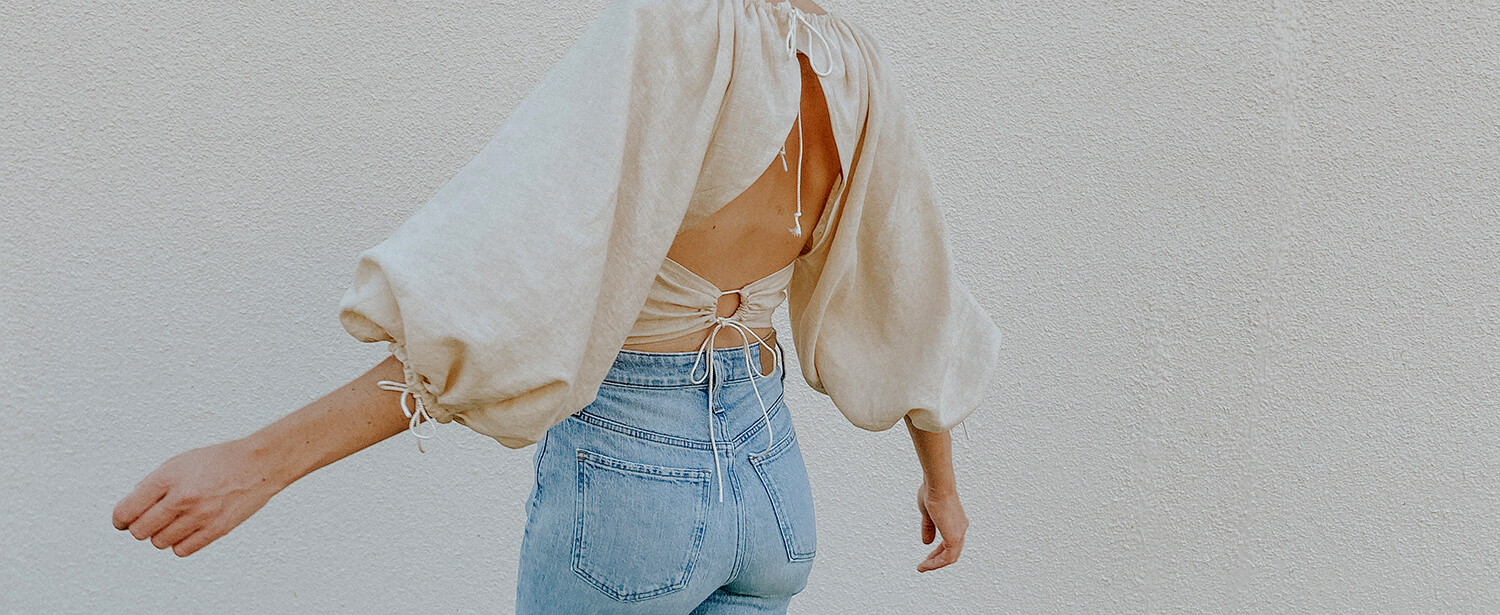
We made a neutral colored top that’s not at all neutral in shape. Neutral is simply something that goes with many other things. This top is neutral in color but very bold and unique in shape. This top almost captures Amanda’s personality. It’s creative and fun with a “sing your favorite song at the top…

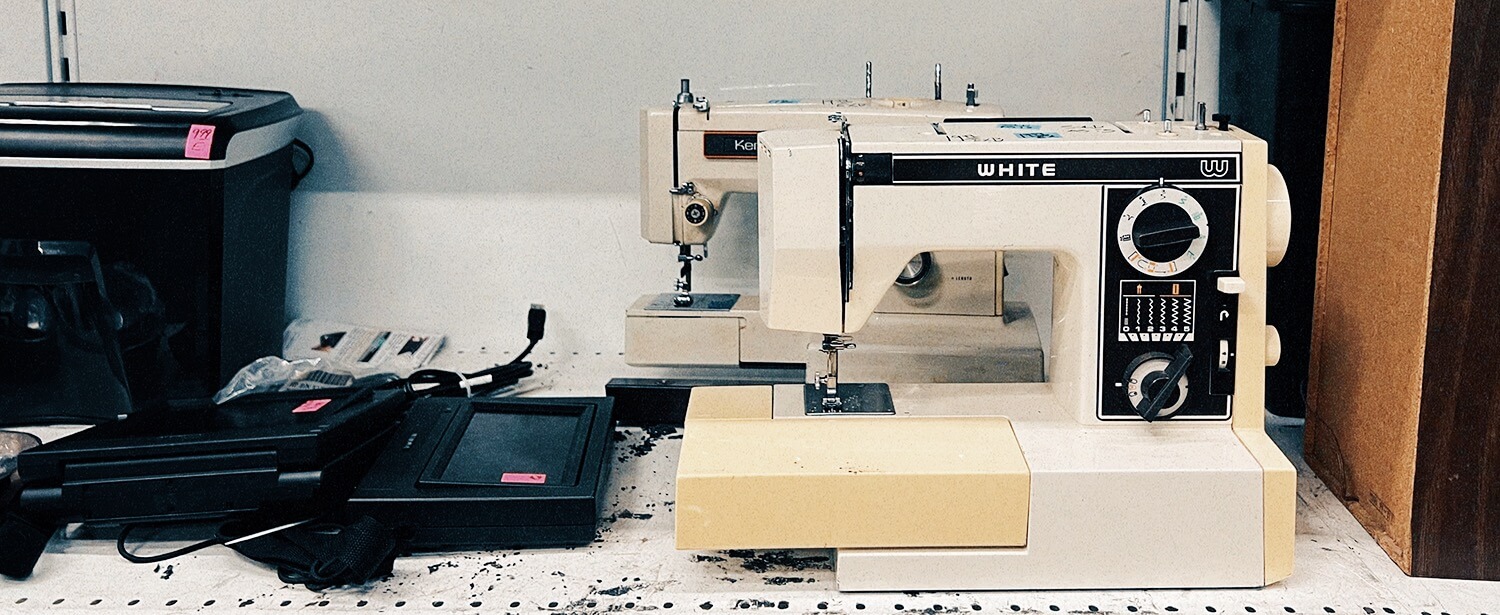
Buying new fabric, especially online can be intimidating, even more so if you are new to sewing. The cost can seem overwhelming. Luckily there are alternative sources where you can explore fabric options. A great place to start is a secondhand craft store, or a thrift store (a goodwill type) or you can search for…
Dutch Golden Age painter Johannes Vermeer made art that was imbued with shades of pale gold like HOLLAND, drenching his intimate, ordinary scenes with glowing, radiant light. In comparison with his peers, Vermeer made a comparatively small body of work, producing only around 45 in his lifetime, and of those, only 36 are known today….
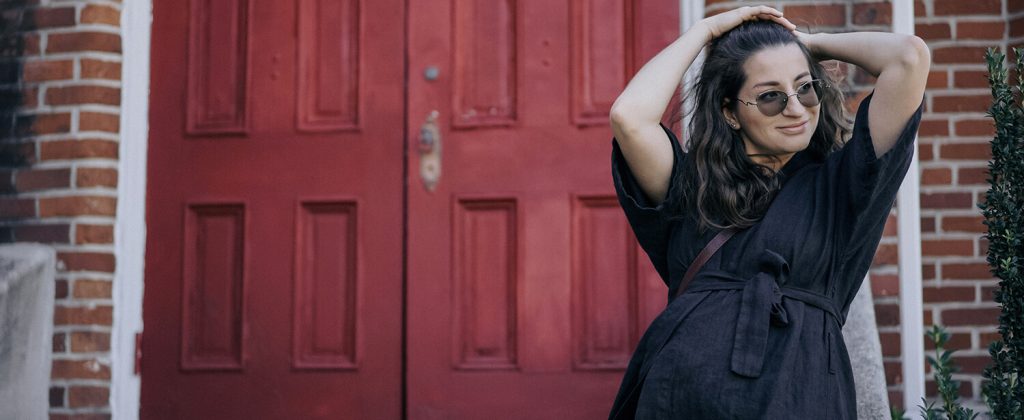
Wrap cardigans are popular right now and easy to accessorize. You can sew them with long sleeves or short sleeves, and layer them over a tank. I’ve been wanting to make a wrap suit for a while, so I didn’t put it off and started as soon as I got Akira’s pattern and fabric. It’s…
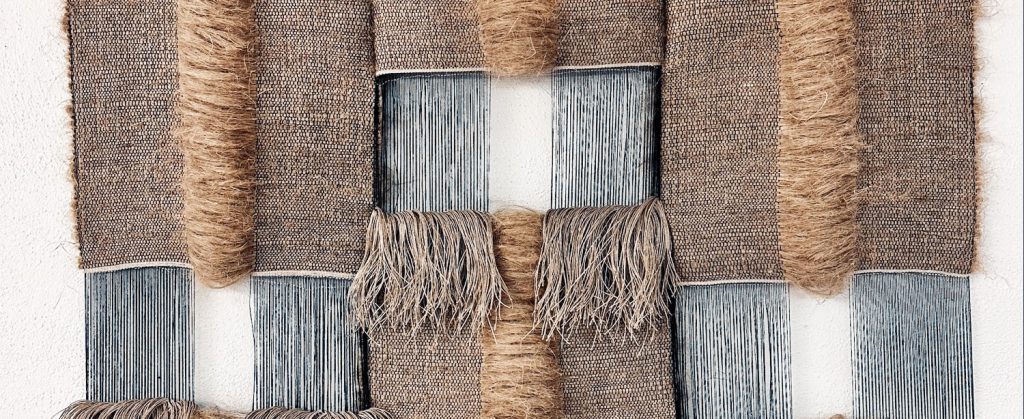
Rhiannon Griego’s striking textile art is a fusion of old and new, merging the geometric patterns of modernity with the ancient practices of weaving. While on the one hand she draws on her family’s long history of weaving in New Mexico, she also takes a fresh new approach, responding intuitively to the rhythms, patterns and…

As a kid, my family was pretty intentional about how we used things. I can recall my parents sorting through the trash and washing out our recyclables and taking them to our local recycling facilities every week, finding new uses to jars and bottles after they were empty (shout out to everyone’s grandma who stored…
Swedish mid-20th century artist Birgit Skiöld was a pioneer in printmaking, a serial experimenter who skilfully merged traditional printing techniques with playful abstract motifs that hint at the movements and patterns of nature. Much of her work was elemental and ephemeral, made up of wispy, uneven lines and ghostly, barely-there colours, but rich, dark blues…

I’m sure I’m not alone in feeling uninspired and, truthfully, not good enough during the winter months. When it comes to my creative energy and output, winter becomes a time of creative hibernation. As I continue to navigate my personal creative journey and reflect on its evolution, I can’t help but consider the influence of…

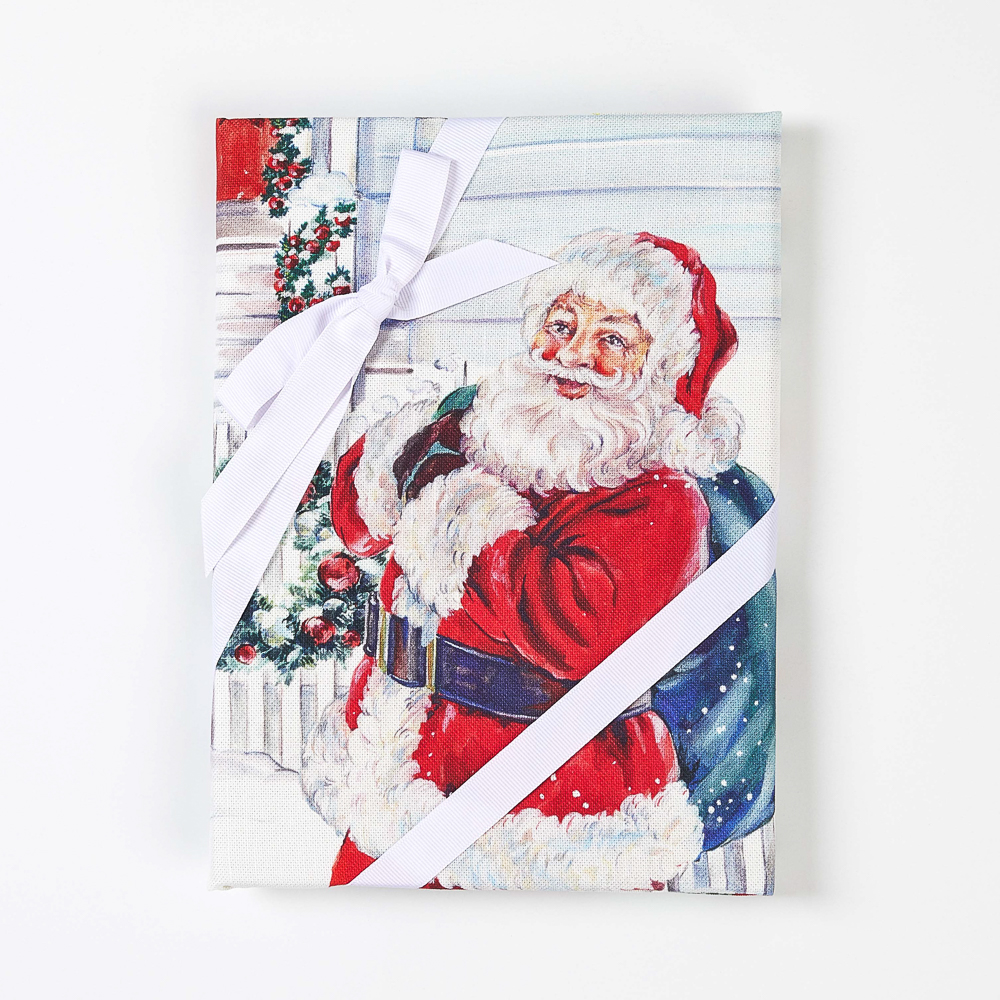
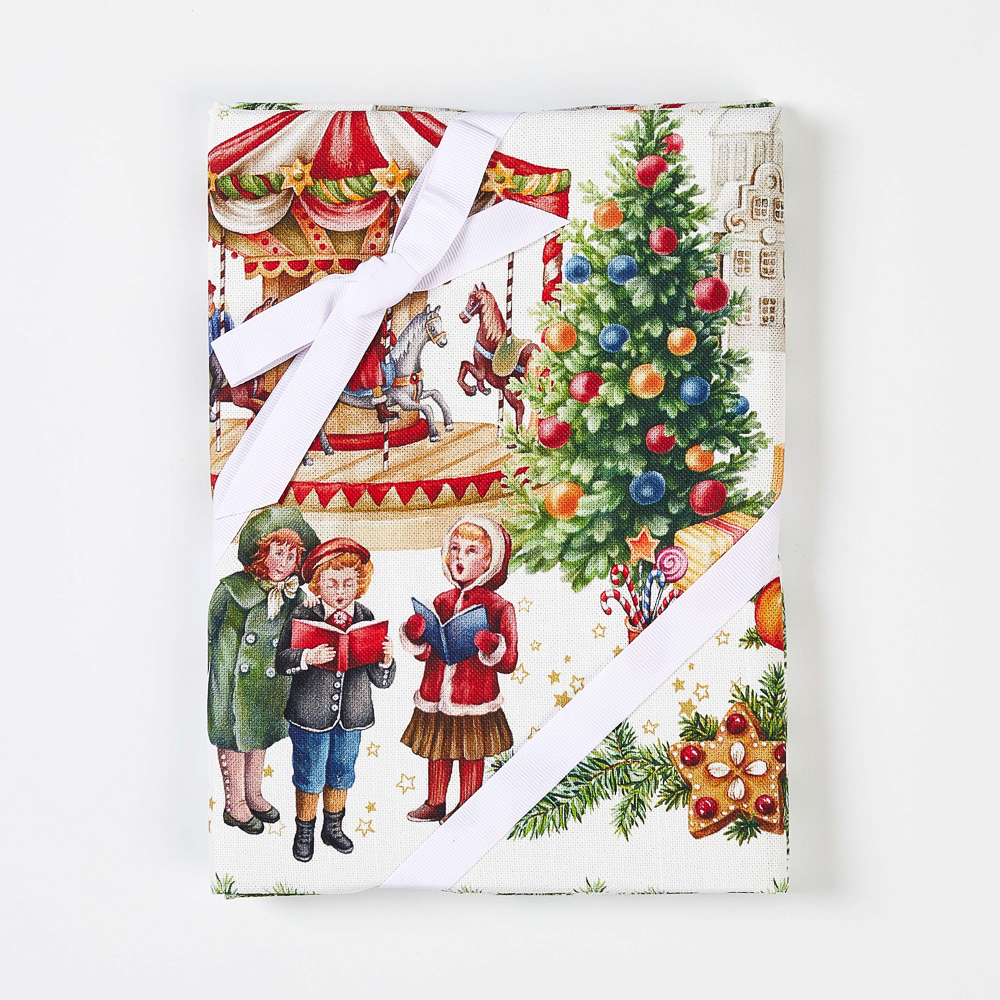
If you’ve ever considered trying fabric covered buttons, this is one of my favorite projects and I am delighted to encourage you to try them. I hadn’t made the buttons with linen before so I was so excited about this project. When I first made fabric covered buttons years ago, I chose cottons with tiny…
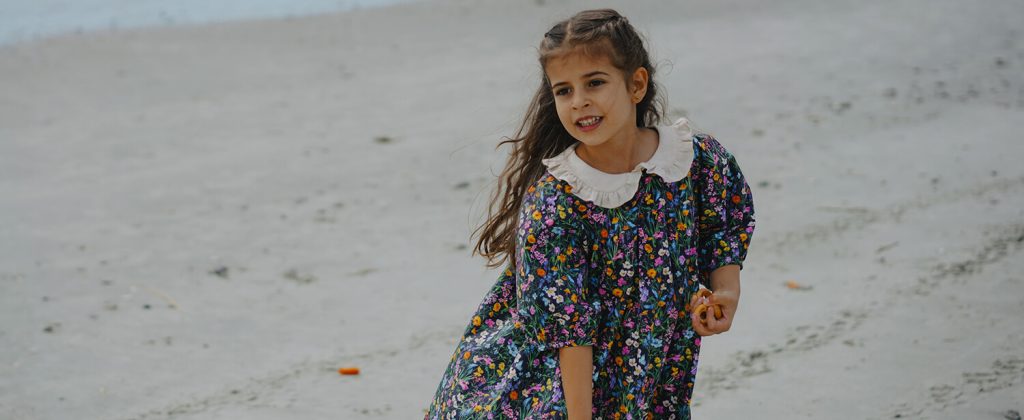
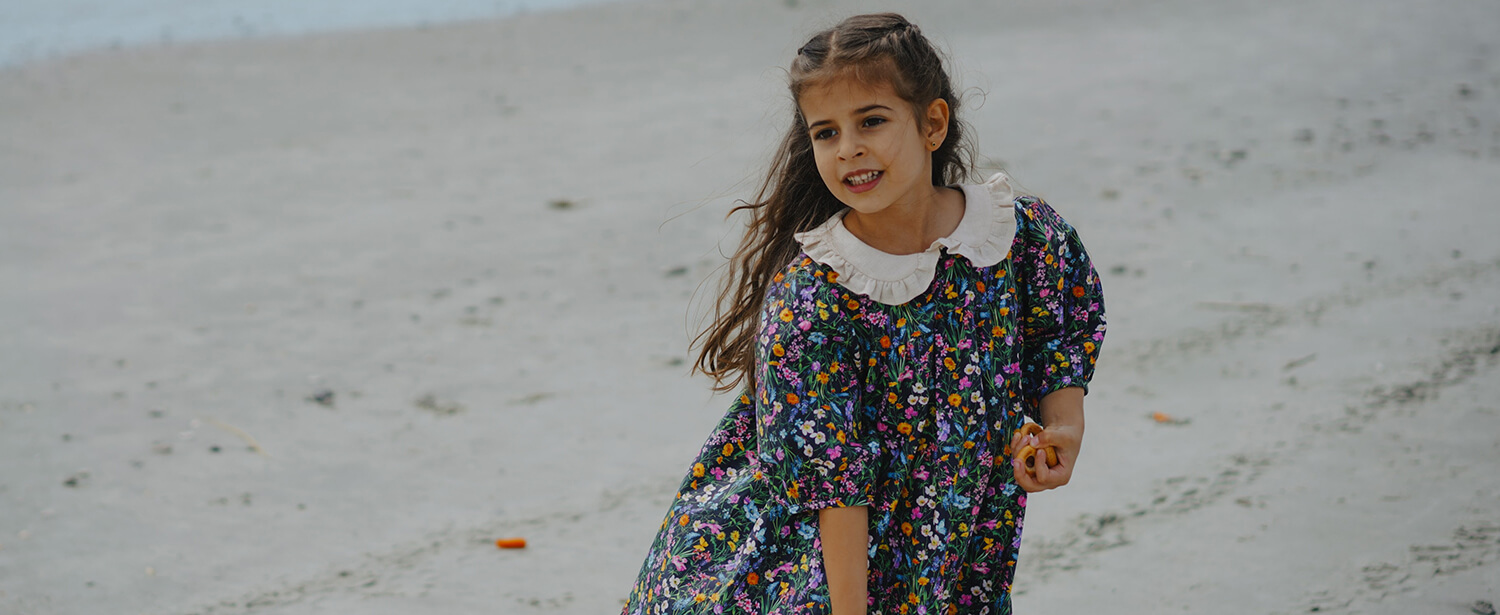
When I received an offer to try a new poplin fabric, I immediately turned my attention to the Mary Black print. I imagined an airy delicate dress with a collar worn with comfortable shoes, boots or sneakers. Cotton poplin is a lightweight, breathable, and comfortable fabric with a flat surface structure. In addition, cotton poplin…

There is a remarkable symbiosis between Sara Buscaglia’s life and work; she seamlessly blends her charmingly old school textile art – mostly exquisitely handcrafted quilts, but also knitting and clothing – with running a successful and prolific organic farm, where she is currently raising a family of four children alongside her husband. Based in La…


SEW THIS LOOK


Latest Posts


Search engine
Use this form to find things you need
LATEST COMMENTS
29 Aug 2017 @ 12:01 am by Claire O'Tuathail
30 Mar 2011 @ 12:33 pm by How to Store Sourdough Bread - The iambic
10 Sep 2020 @ 1:00 am by Best FemBoy Clothes 10 Brilliant Tips For Finding
25 Apr 2024 @ 6:28 am by Whitney Arrington
19 Nov 2020 @ 3:36 am by Ambar Rivera-Perez